How to Build Closet Shelves DIY Style Step-by-Step
Learn how to transform your cluttered closet with custom shelving that fits your space perfectly with this complete DIY guide to building closet shelves.

Have you ever stared into your closet and thought, "What a waste of space"? Well, you're not alone! Most standard closets come with a single rod and maybe one shelf, leaving tons of potential storage real estate completely untapped. I've been there—clothes piled up, shoes scattered everywhere, and that sinking feeling that I'd never find what I was looking for again. That's when I decided to take matters into my own hands and figure out how to build closet shelves DIY style step-by-step. And boy, was it a game-changer!
Building your own closet shelves isn't just about creating more storage—it's about crafting a personalized space that actually works for your stuff and your lifestyle. Plus, there's something incredibly satisfying about stepping back and admiring shelving that you've built with your own two hands. Whether you're a tool-savvy weekend warrior or someone who's still getting familiar with which end of the hammer to hold, this guide will walk you through the entire process from planning to the final nail.
So roll up those sleeves—it's time to transform that chaotic closet into an organized oasis!
What You'll Need for Your DIY Closet Shelves
Before diving into construction, let's gather our materials and tools. Nothing's worse than getting halfway through a project only to realize you're missing something crucial!
Materials
3/4" plywood or MDF for shelves (amount depends on your closet size)
1x2 pine boards for supports (cleats)
Wood screws (1 1/4" and 2")
Finishing nails
Wood glue
Sandpaper (medium and fine grit)
Paint or stain of your choice
Polyurethane (optional, for added durability)
Tools
Measuring tape
Level
Stud finder
Power drill with bits
Circular saw or table saw
Jigsaw (for any cutouts around obstacles)
Sander (electric is easier, but manual works too)
Screwdriver
Hammer
Pencil
Safety glasses and dust mask
Oh, and if you don't have all these tools hanging around your garage—no sweat! Most hardware stores rent equipment by the day, which can save you a bundle if you're just starting out.
Planning Your Closet Shelves: Measure Twice, Cut Once
I can't stress this enough—proper planning is the make-or-break factor in how to build closet shelves DIY style step-by-step. Take a deep breath and embrace the planning stage!
Taking Accurate Measurements
Empty your closet completely (yes, everything has to come out)
Measure the width, height, and depth of your closet space
Note the location of any obstacles (light fixtures, outlets, doors)
Identify where the studs are in your walls (they're typically 16" apart)
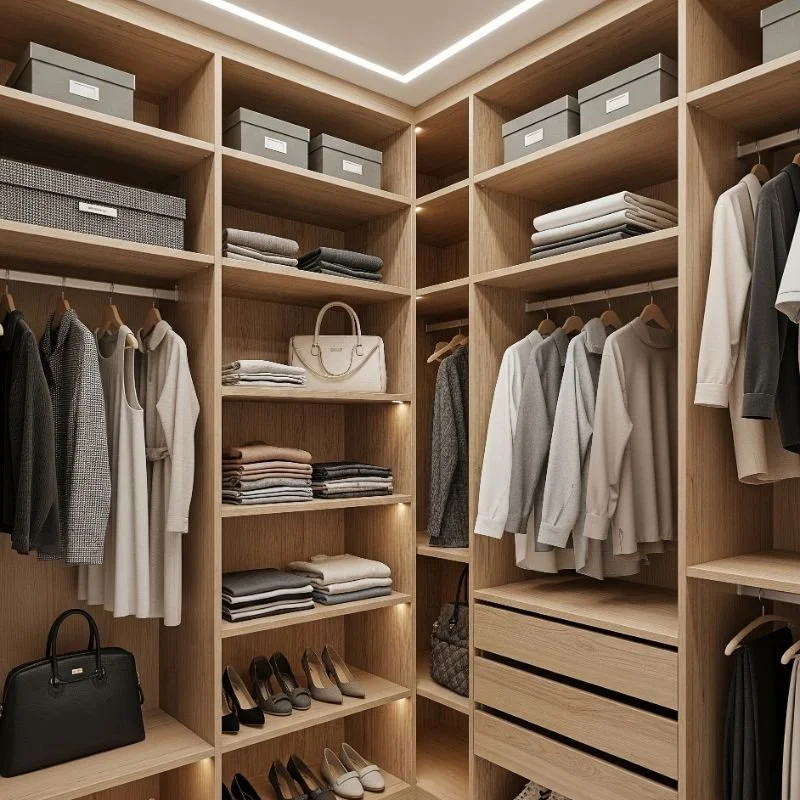
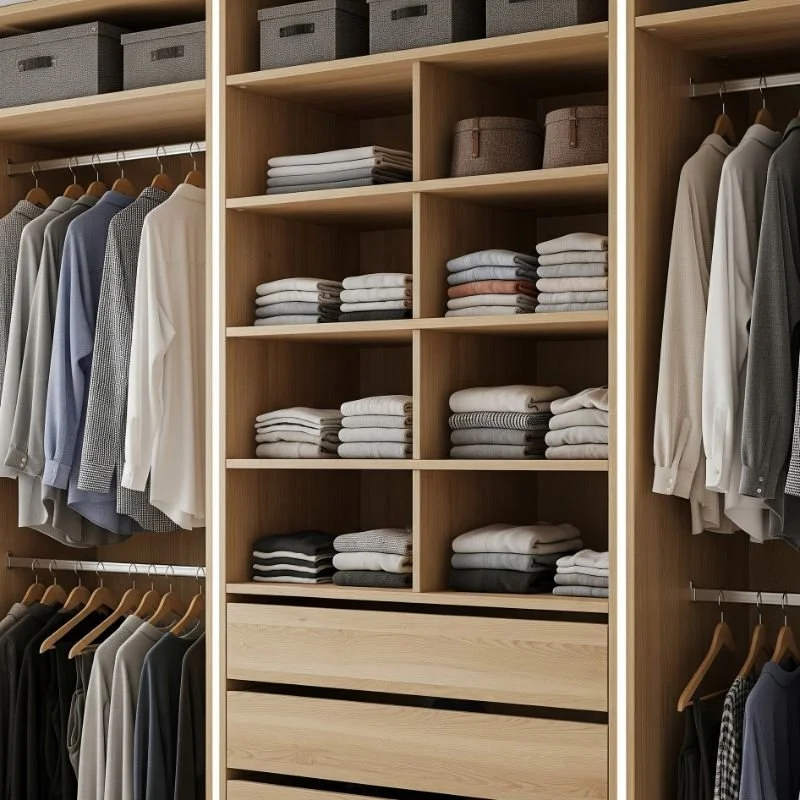
Designing Your Shelf Layout
Now comes the fun part—designing a shelf system that meets your specific needs. Consider what you'll be storing:
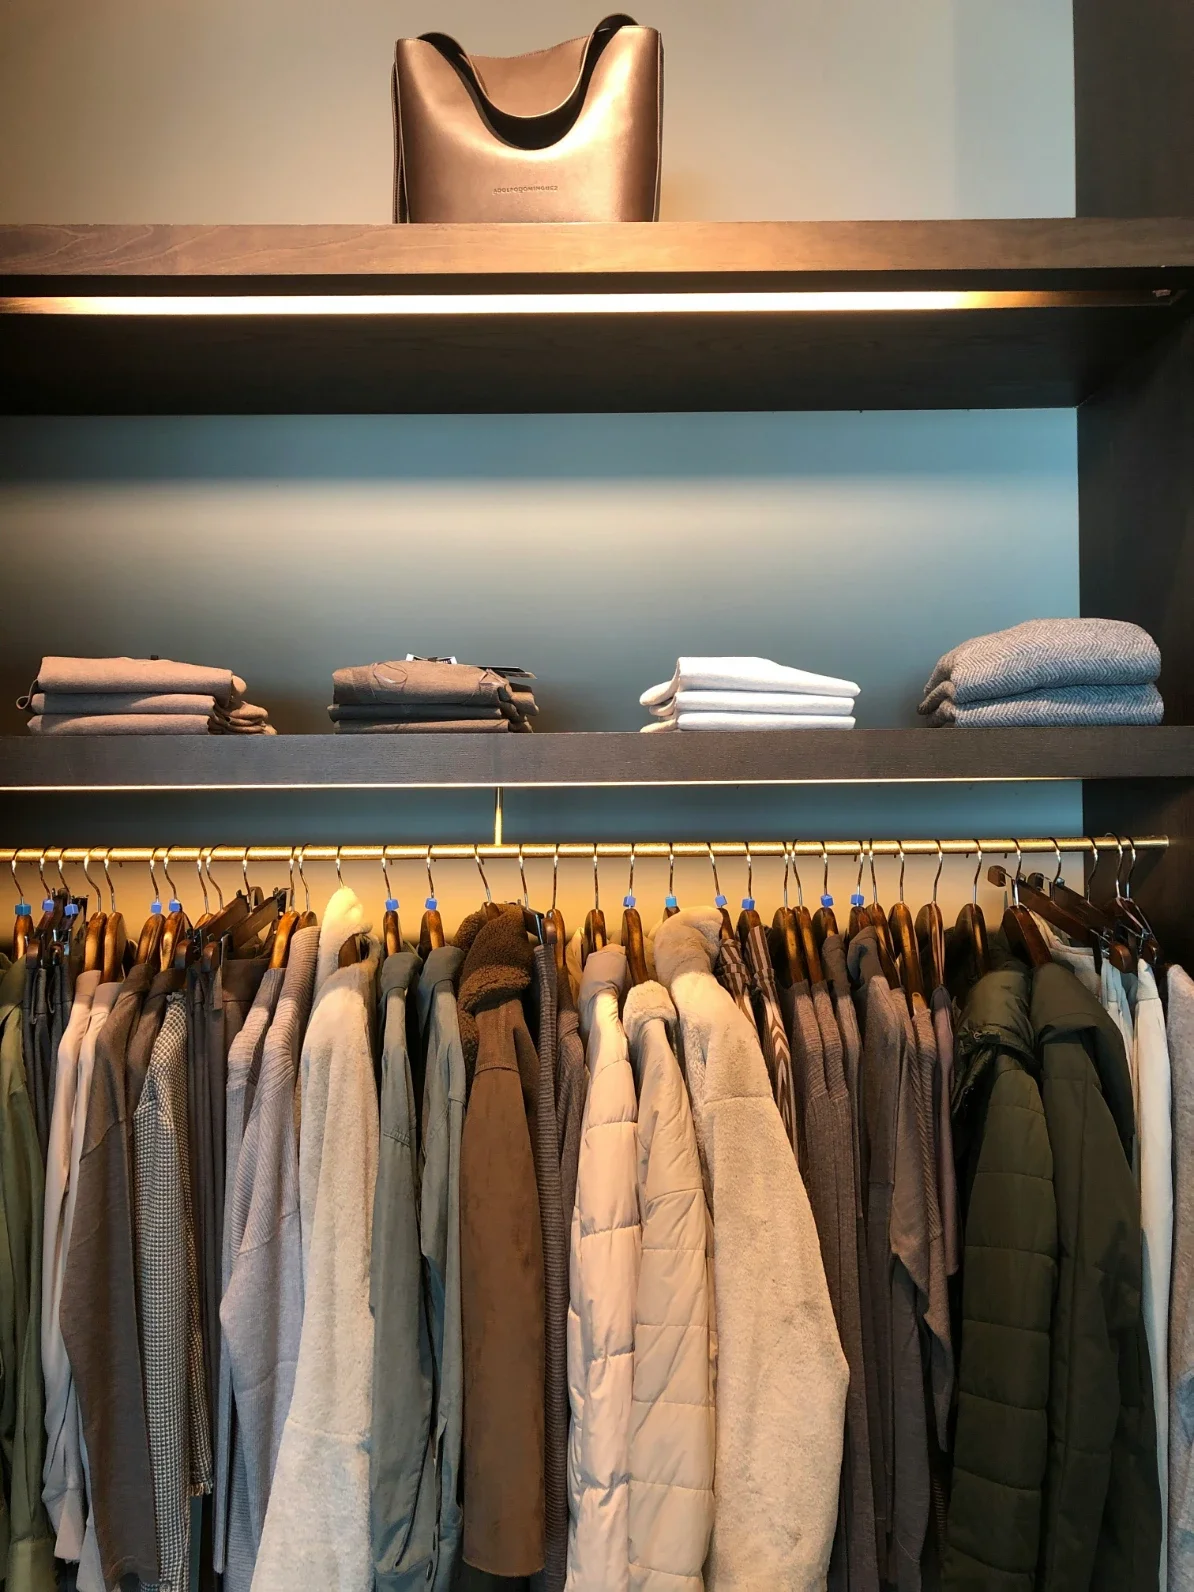
Folded clothes need about 12-15" of vertical space
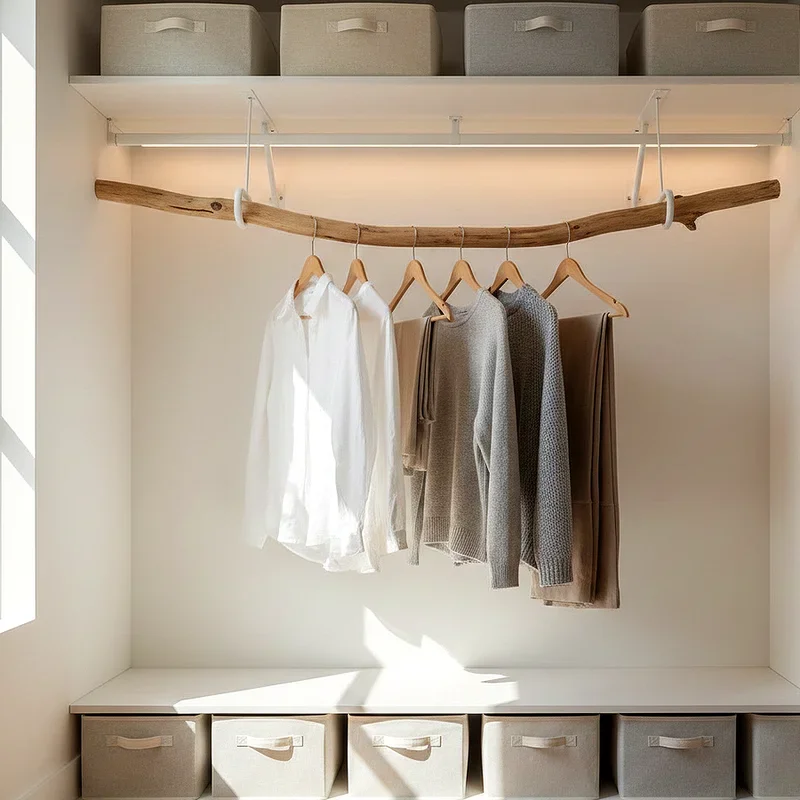
Hanging shirts need about 38" of height
Dresses and long coats need 65" or more
Shoes can fit on shelves spaced 6-7" apart
Sketch out your plan on paper, including all measurements. I find it helpful to use graph paper where each square represents a set measurement (like 6 inches). This makes it easier to visualize the final product.
Pro tip: Leave some flexibility in your design. As someone who's rearranged their closet approximately 8,000 times, trust me—your storage needs will change!
Preparing Your Materials for Custom Closet Shelves
With your plan in hand, it's time to prepare your materials.
Cutting Your Shelving
When cutting your plywood or MDF for shelves:
Transfer your measurements to your boards using a pencil and straightedge
Double-check all measurements (that whole "measure twice, cut once" thing isn't just a catchy slogan)
Cut your shelves using a circular saw or table saw
If you need to make cutouts around obstacles, use a jigsaw
Sand all edges to prevent splinters and create a finished look
Preparing Support Cleats
For each shelf, you'll need support cleats on the back and sides:
Cut your 1x2 boards to match the depth and width of your closet
Sand all edges smooth
If you're painting or staining, now's the time to do it (much easier than trying to reach into corners later!)
Installation: The Heart of How to Build Closet Shelves DIY Style Step-by-Step
Alright, this is where the rubber meets the road. Let's transform that empty closet into an organizational masterpiece!
Installing the Support Cleats
Mark the height of your first shelf on the back and side walls
Use a level to ensure your marks are, well, level
Locate the studs in your walls (this is crucial—your shelves will be holding weight!)
Attach the back cleat first, screwing it into the studs with 2" wood screws
Attach the side cleats, making sure they're level with the back cleat
Securing the Shelves
Place your first shelf on top of the installed cleats
Check that it's level in all directions
Secure the shelf to the cleats using 1 1/4" screws from underneath
For extra stability, you can also use finishing nails from the top
Repeat the process for each shelf, working from bottom to top
Whew! This part can be a bit of a workout, especially when working with larger shelves. Don't be afraid to ask for an extra pair of hands if you need help holding things in place while you secure them.
Adding the Finishing Touches to Your DIY Closet Shelves
You've done the heavy lifting, but don't skip these finishing touches that'll take your project from "homemade" to "wow, did you hire someone to do that?"
Sanding and Finishing
Fill any visible screw holes with wood filler
Once dry, sand these spots until smooth
Apply paint or stain to match your décor
Consider adding a coat of polyurethane for high-traffic shelves
Allow proper drying time between coats
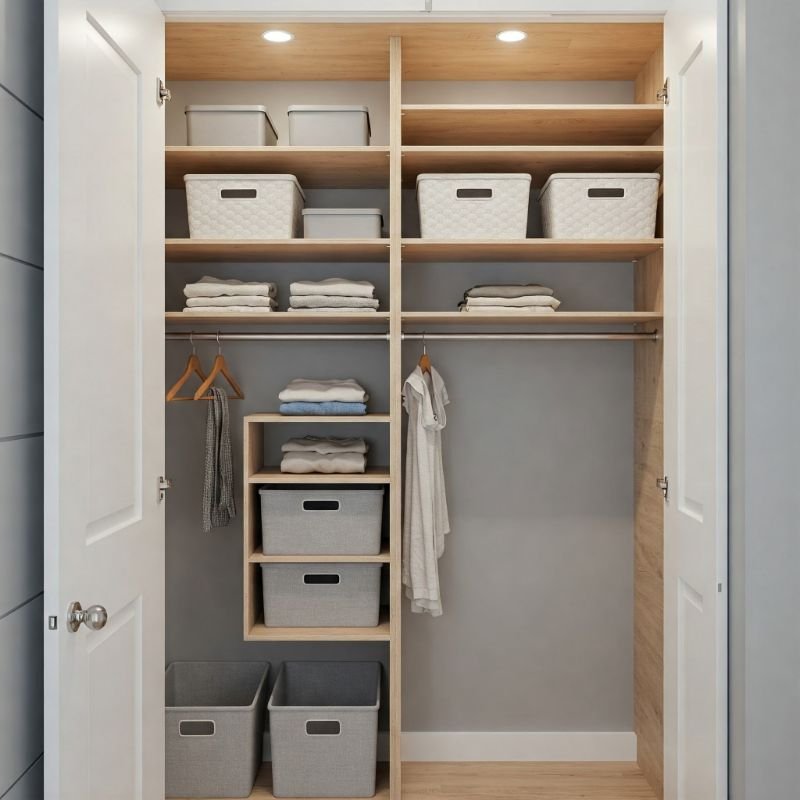
Extra Storage Enhancements
While we're focusing on how to build closet shelves DIY style step-by-step, consider these additions to maximize your new space:
Add hooks on the sides for bags or belts
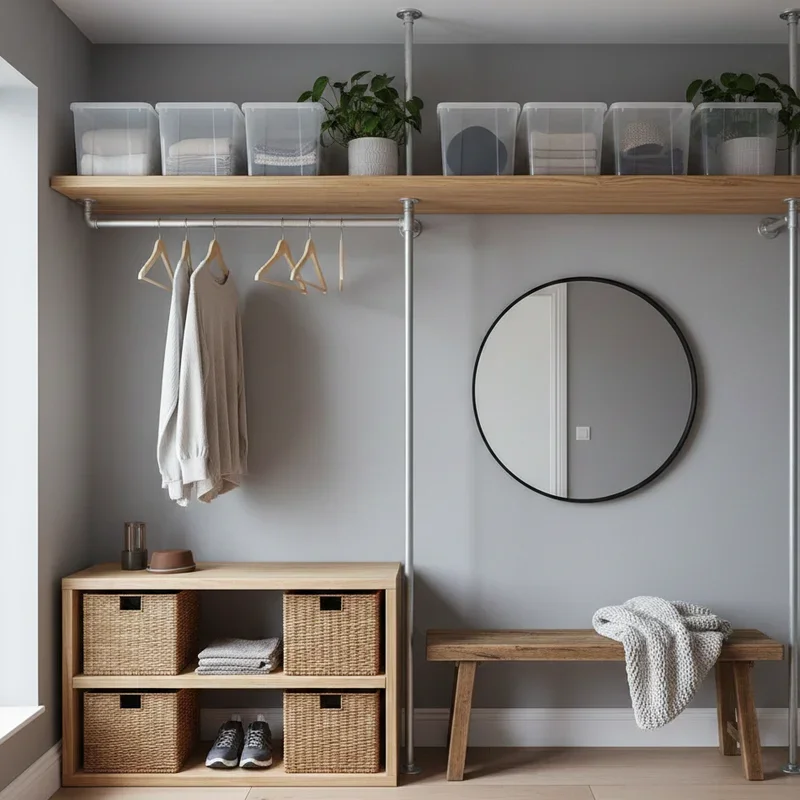
Install a tension rod between shelves for hanging clothes
Add baskets for smaller items
Consider drawer inserts for shelves that will hold small items
Organizing Your Newly Built Closet Shelves
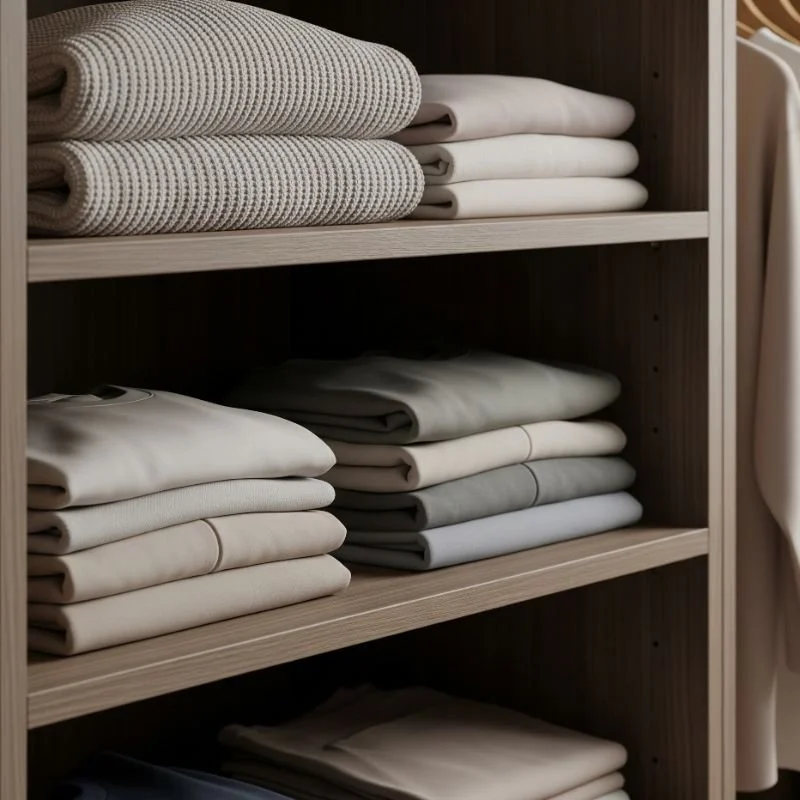
Now comes what might be my favorite part—filling those beautiful new shelves with your belongings!
Organization Tips
Store frequently used items at eye level
Keep seasonal items on higher shelves
Use the bottom shelves for heavier items
Consider clear containers so you can see what's inside
Label everything (future you will thank present you)
I like to organize by category first, then by color within those categories. It not only looks satisfying but makes finding that specific blue sweater so much easier when you're running late!
Troubleshooting Common DIY Closet Shelf Issues
Even with careful planning, you might encounter a few hiccups along the way. Here's how to solve them:
Uneven Shelves
If your shelves aren't quite level:
Use shims to adjust the height of your cleats
Double-check your measurements before installing the next shelf
Consider adding a center support for wider shelves that might sag
Insufficient Support
If your shelves seem wobbly:
Add additional cleats for support
Make sure you're screwing into studs, not just drywall
Consider adding vertical supports for heavier loads
Tight Fits
If your shelves are too tight or too loose:
Remember to account for the thickness of paint when measuring
Leave about 1/8" gap on each side for easier installation
Use a block plane to shave down edges that are too tight

Maintaining Your Custom Closet Shelves
Your DIY closet shelves will serve you well for years with proper maintenance:
Dust regularly with a microfiber cloth
Inspect the supports annually, tightening any loose screws
Refresh the paint or stain every few years as needed
Avoid overloading shelves beyond their weight capacity
Conclusion
Learning how to build closet shelves DIY style step-by-step isn't just about creating storage—it's about crafting a solution perfectly tailored to your needs. From that first measurement to the final coat of paint, you've created something functional and uniquely yours. The best part? Every time you open that closet door, you'll feel that little spark of pride knowing you built it yourself. So go ahead—take a step back, admire your handiwork, and enjoy your newly organized space. Your future self will thank you each morning as you effortlessly find exactly what you're looking for!
Read next: 15 DIY Small Closet Ideas for Smart Organization
Frequently Asked Questions
1. How much does it cost to build your own closet shelves?
Typically between $100-300, depending on materials and if you already own the necessary tools.
2. How deep should closet shelves be?
12" is standard for clothes, while 16" works better for bulkier items and storage bins.
3. Can I build closet shelves without power tools?
Yes! Hardware stores can cut wood to size, and you can use a hammer and nails instead.
4. How much weight can DIY closet shelves hold?
Properly installed shelves with studs can hold 30-50 pounds per linear foot without sagging.
5. Is MDF or plywood better for closet shelves?
Plywood is stronger and more durable, while MDF is smoother and cheaper but can sag under weight.
Stay up to date with our latest ideas!