15 Creative Halloween Craft Ideas for Everyone
Get ready for Halloween with 15 spooky paper crafts! From ghost lanterns to origami fangs, these DIY projects add eerie flair to your decor and are perfect for all skill levels.

When October rolls around, your home should ooze spookiness without draining your wallet or calling in professional decorators. That’s where paper crafts come in—they’re budget-friendly, versatile, and downright fun to make. With just scissors, glue, and your imagination, you can conjure floating specters, creepy cobwebs, and chilling cupcake toppers faster than you can say “Boo!” Think of paper as your canvas—and you’re the mad scientist animating it. Whether you’re hosting a haunted house party or spooking up your mantel, these fifteen paper Halloween crafts will transform blank walls and tabletops into a ghostly gallery. Ready to summon some paper ghouls and goblins? Grab your supplies, dim the lights, and let’s dive into “15 Spooky Paper Halloween Crafts Ideas” that will have your friends whispering, “How did they do that?”
1. Paper Ghost Lanterns
Paper ghost lanterns feel like tiny specters dancing on your shelves—the perfect spooky centerpiece for Halloween. To whip these up, cut ghost silhouettes from white cardstock or vellum, leaving a rounded bottom and jagged edges for a tattered look. You can create a ghostly family by varying sizes or personalizing each with hand‑drawn expressions. Next, fold rectangular cardstock strips into cylinders, glue the long edges, and slide in a battery‑powered tea light. Position the ghost shape around the cylinder and secure with hot glue so the light glows through the paper, casting eerie shadows. Add googly eyes or marker‑drawn faces for extra personality. Hang them from the ceiling with fishing line or cluster them on mantels and tables for an ethereal effect. Experiment with colored vellum for a spectral rainbow or layer shapes for a 3D aura. In under an hour, you’ll conjure an army of glowing ghouls that’ll spook your guests.

2. Spider Web Doilies
Spider web doilies transform plain paper into lace-like webs fit for a haunted mansion. Start with a circular paper doily or cut circles from white or black crepe paper. Fold the circle into quarters, then snip small triangles along the curved edges. When you unfold, you’ll reveal intricate web patterns that look as delicate as spider silk. For more dimension, layer two doilies of different sizes or colors. Spray them lightly with silver or black glitter for a chilling shimmer. Hang these webs on walls, across doorways, or draped over furniture. Pair them with plastic spiders or LED string lights to heighten the creep factor. You can even wrap them around vases and jars to create spooky candle holders. These doilies double as eco-friendly confetti after the party—just crumble and compost. Clever folding and snipping turn simple paper into hauntingly beautiful décor in minutes.

3. Pop-Up Paper Bats
Nothing says Halloween like bats swooping through the night, and pop‑up paper bats bring that eerie motion indoors. To craft these creatures, trace bat silhouettes onto black cardstock and cut them out. Score a slight crease down each bat’s centerline so their wings pop upward for a 3D effect. Attach each bat to a thin strand of fishing line or clear thread using a small dot of glue on its body. Suspend clusters at varying heights from the ceiling or inside shadow boxes. When a breeze swirls, these bats look like they’re on the hunt. For added realism, use metallic cardstock for the wing veins or glue on tiny googly eyes. You can also mount them on walls with removable adhesive so they appear frozen mid‑flight. Pop‑up bats create dynamic decorations that dance at the slightest gust—spooky and stylish in any small space.

4. Haunted House Garland
A haunted house garland strings together miniature spook‑show mansions in a festive banner perfect for mantels or doorways. Sketch simple house outlines with peaked roofs, crooked chimneys, and arched windows onto black or dark gray cardstock. Cut out each silhouette and punch holes at the top corners. Thread rustic twine or black ribbon through the holes, spacing houses evenly. For an extra chill, back each cutout with orange tissue paper so light from behind (like a dainty string of fairy lights) glows through windows, mimicking flickering candles. Hang the garland across a mantel or stair railing. You can even intersperse moon and star cutouts to complete the night sky effect. This DIY banner evokes the feeling of walking past an abandoned ghost town—just the right amount of spook without the cobwebs.

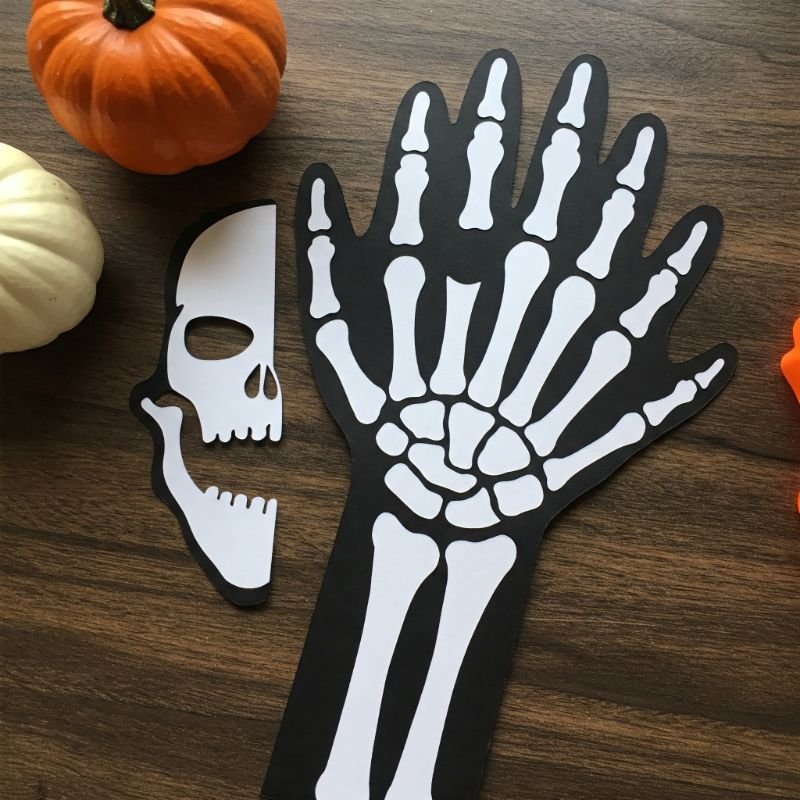
5. Skeleton Hand Masks
Skeleton hand masks give trick‑or‑treaters a bony new identity in minutes. Trace your hand (or a child’s) on white cardstock or heavy paper, then draw elongated, finger‑bone segments extending beyond the real digits. Carefully cut out the skeletal hands and reinforce the palm area with a second layer of cardstock. Poke tiny holes on each side and thread elastic cord through, tying secure knots to create straps. Slip the hands over your own for instant skeletal fingers. These masks double as spooky gloves, letting you wave and spook friends with bony digits. For an extra touch, smudge light gray watercolor or charcoal along the creases to mimic aged bone. Whether worn at a Halloween party or used as eerie wall art, skeleton hands add skeletal style with minimal fuss. Beware: they might make you crave a hammock made of ribs.
6. Eyeball Balloons with Paper Accents
Eyeball balloons turn your living room into a giant haunted eyeball gallery. Inflate white latex balloons, then draw bloodshot lines radiating from a central point using red markers. Next, cut circles of colored cardstock for irises and even smaller black circles for pupils. Glue the iris and pupil onto each balloon using double‑sided tape. To ramp up the creep factor, cut paper rings from black cardstock and glue them around the balloon’s base, creating an eerie shadow effect. Cluster these balloons at doorways or corner tables so it feels like a dozen eyes are watching. If you want them floating, tie weights wrapped in orange or purple tissue paper to each string. Eyeball balloons deliver instant Halloween spectacle—like a thousand silent sentinels peering into your soul.

7. Origami Vampire Fangs
Origami vampire fangs give a grin that chills without any candy coating. Begin with square pieces of white origami paper. Fold diagonally to form a triangle, then fold down each corner to meet at the top point, creating a diamond shape. Fold the diamond in half so the short sides meet, then fold out two small triangles at the bottom for fangs. Crease sharply so the fangs stick out when the piece is opened slightly. Attach thin elastic or ribbon to the back folds so you can tie the fangs around your head. Now you’ve got a pair of deadly chompers without any plastic molds. These paper fangs are lightweight, kid‑friendly, and perfect for classroom Halloween parades. Plus, when you’re done biting into candy, they fold flat for easy storage—no dental plan required.

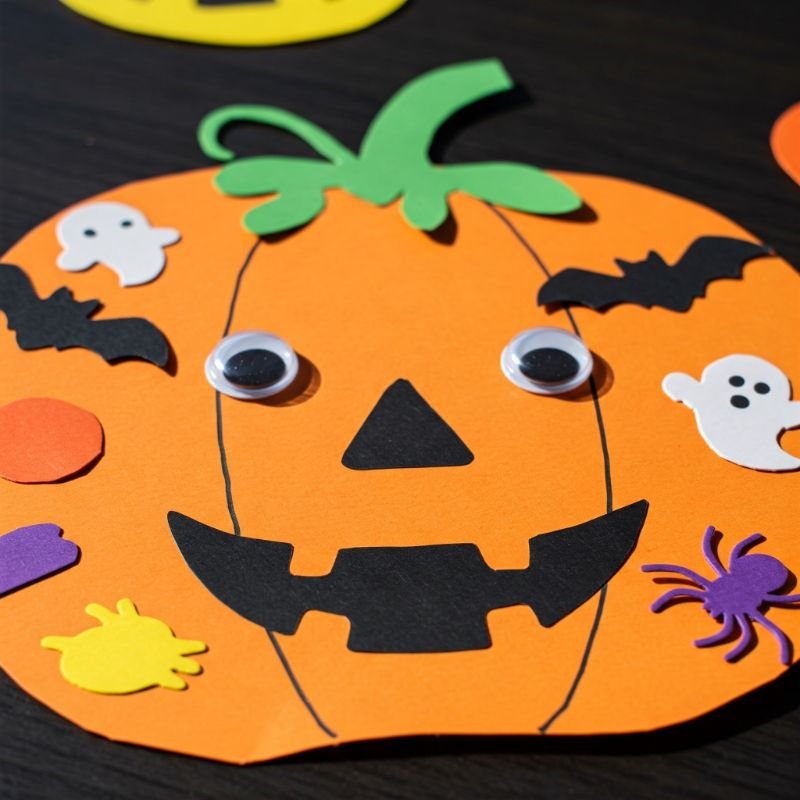
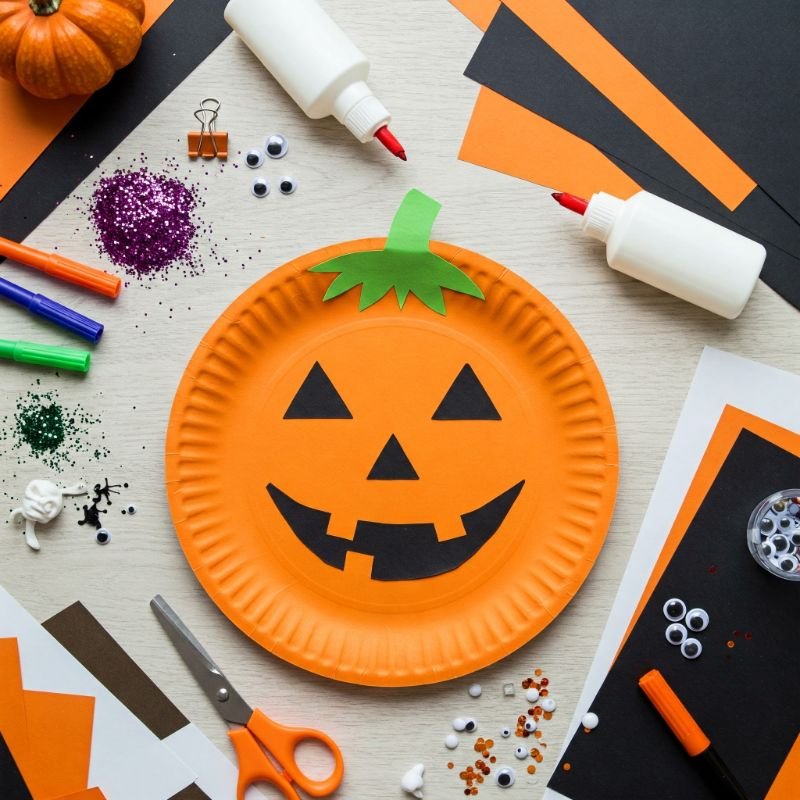
8. Paper Plate Jack‑O’‑Lanterns
Paper plate jack‑o’‑lanterns let you carve pumpkin grins without the mess or molds. Grab sturdy paper plates and pencil‑sketch classic jack‑o’‑lantern faces—triangular eyes, a jagged mouth, and maybe a goofy wink. Cut out the eye shapes and mouth with craft knives (kids can safely cut the mouth with pre‑scored lines). Paint the plates orange, leaving the cut‑out shapes blank for contrast. For an extra layer of fun, glue on green crepe‑paper leaves and a brown pipe cleaner stem. Display them on walls, doors, or taped to windows for an instant pumpkin patch vibe. They’re weather-resistant enough for covered porches, too. When Halloween ends, tuck them flat into a folder for next year. These paper‑plate pumpkins offer all the charm of a carved gourd—minus the slime and swarming fruit flies.
9. Jointed Zombie Puppets
Jointed zombie puppets bring the undead to life in interactive paper form. Sketch your zombie’s head, torso, arms, and legs on cardstock, then cut each piece out. Use brass brads at shoulder and hip joints to attach limbs, allowing them to dangle and move. Add spooky details—ragged clothes, exposed paper “bones,” and greenish shading with watercolor or markers. Glue on tiny buttons or googly eyes for extra creepiness. Pull on a string or fan your hand under them to watch your zombie puppet “dance” down the hall. These paper puppets double as creepy party favors—each guest gets their own undead buddy to take home. They’re perfect for teaching kids basic mechanics, too: you’ll have everyone asking, “How does this paper ghoul move so eerily?”

10. Frankenstein Monster Cutouts
Frankenstein monster cutouts loom larger than life on your walls. Draw Dr. Frankenstein’s iconic flat‑headed fiend with square jaw, bolts, and stitched forehead onto black or green cardstock. Cut out the silhouette and add facial details with paint pens—eyebrows, stitches, and yellowish eyes. For extra texture, glue on yarn for hair or wrap rubber bands around the neck area to symbolize the bolts. Mount the cutouts on poster board or directly on the wall using removable adhesive strips. To set a scene, surround them with hanging paper bats or print out “Wanted: Monster” posters for a mad‑scientist vibe. These cutouts pack a cinematic punch, turning plain walls into a gothic lab. They’re sturdy, reusable, and way less messy than papier‑mâché—your very own flat-field of franken-fun.

11. Window Cling Ghosts
Ghostly window clings bring a haunting presence to glass surfaces. Print or draw simple ghost shapes—rounded tops, flowing tails, and oval eyes—onto clear adhesive vinyl sheets. Cut them out carefully, then peel and stick onto windows or mirrors. The translucent vinyl catches light during the day and gleams at night under porch lights for a spooky silhouette effect. For variety, mix in black-cat or bat clings created the same way. These vinyl ghosts won’t damage glass and peel off cleanly after the holiday. If you don’t have adhesive sheets, use static-cling clear acetate—same concept, no residue. Whether you live in an apartment or own a wilting Victorian, these window spirits set an eerie mood without blocking your view.

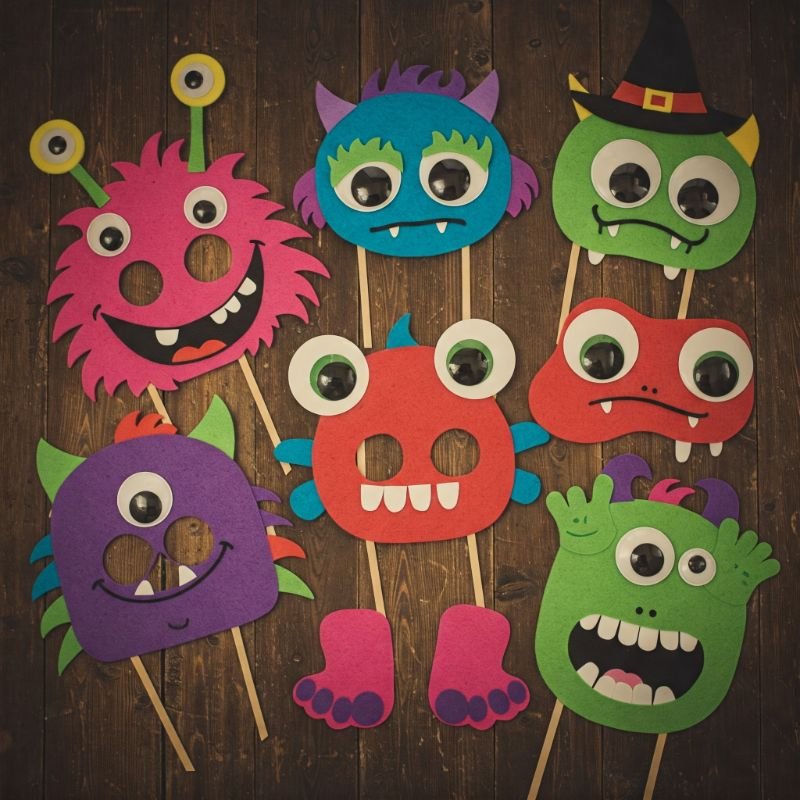
12. Monster Photo Booth Props
Monster photo booth props turn selfies into scream‑worthy souvenirs. Cut fun shapes—horned devil silhouettes, cyclops eye circles, bat wings, and fangs—from sturdy black, red, or neon cardstock. Glue each shape onto a wooden dowel or striped paper straw with hot glue or tape. Offer a variety of googly eyes, glitter, and mini pom‑poms for guests to customize props before posing. Set up a spooky backdrop of tattered cheesecloth and orange string lights, then unleash your inner mad scientist behind the camera. These handheld props invite laughter and creative scares, and you’ll end up with hilarious snapshots to remember the night. When the party’s over, stash the props flat in a box for next year’s monster mash.
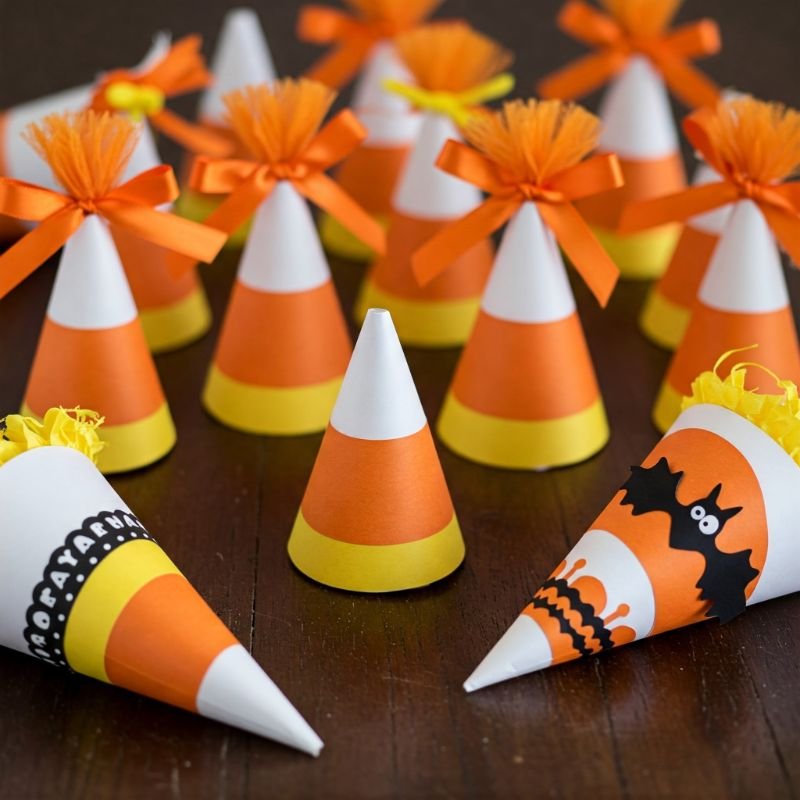
13. Candy Corn Paper Cones
Candy corn paper cones make sweet treats even sweeter—without real candy needed. Cut triangles of yellow, orange, and white cardstock matching candy corn stripes. Roll each color into concentric cones—white for the tip, orange in the middle, and yellow at the base—and secure edges with glue or decorative washi tape. Fill each cone with real candy corn, popcorn, or small treats, then fold the tip shut. Arrange them in baskets or hang them by ribbon loops from a tree branch for a “Candy Corn Tree.” You can also line a mantel with these cheerful cones for a delightfully playful fall display. They’re easy for kids to assemble and fill, combining craft time with snack time in one delicious package.
14. Witch Hat Cupcake Toppers
Witch hat cupcake toppers add a wickedly cute detail to your baking. Cut small triangles of black cardstock for the cone and matching circles for the brims. Fold the triangle into a cone shape and glue edges, then glue the brim to the base. For flair, wrap a skinny strip of contrasting paper or ribbon around the hat’s base like a belt. Poke a toothpick or paper straw into the bottom and insert it into frosted cupcakes. You’ll instantly conjure a coven of witchy treats that look too magical to eat—well, almost. These toppers come together in under ten minutes and dress up any flavor with minimal effort. Plus, guests get to take home a mini hat as a spooky keepsake.

15. Papel Picado Banner
Papel picado banners bring a festive Dia de los Muertos flair to Halloween with delicate paper patterns. Stack colorful tissue paper sheets, then cut squares or rectangles. Fold each piece accordion-style and snip out triangles, skull silhouettes, spider motifs, or ghost shapes along the folded edges. Unfold to reveal intricate cutwork—lace-like banners that flutter in the breeze. String them along twine or ribbon and hang across windows, doorways, or fence railings. The layered colors peek through each other, creating a stained‑glass effect that dances with light. Unlike fabric banners, papel picado is ultra-light and budget‑friendly, yet it sets a vibrant, celebratory tone. When the party ends, gently fold and store them flat for next year—no muss, no fuss.

Conclusion
There you have it: fifteen spine‑chilling paper crafts that prove you don’t need expensive props or professional help to transform your space into a haunted haven. From glowing ghost lanterns and pop‑up bats to jointed zombie puppets and papel picado banners, each project blends simplicity with spectacular spookiness. With just paper, glue, and a dash of creativity, you can whip up an entire Halloween scene in a weekend—or even an afternoon. These crafts pack serious personality into every nook, and they’re as fun to make as they are to display. So raid your recycling bin, sharpen those scissors, and get ready to summon a flurry of paper phantoms and festive décor. Your visitors won’t believe their eyes—until they realize it’s all just crafty paper magic.
Frequently Asked Questions
Q1: What kind of paper works best for these Halloween crafts?
Cardstock or heavy-weight paper (around 80–110 lb) offers sturdiness for most projects, especially lanterns, masks, and cutouts. Tissue paper or crepe paper shines for decorative doilies and papel picado. Clear adhesive vinyl or static‑cling acetate works best for window clings. Mixing paper types adds texture and visual interest, so don’t hesitate to combine materials for layered effects.
Q2: How can I make these crafts kid‑friendly?
Simplify cutting patterns and pre‑score folding lines for younger crafters. Use safety scissors, washable markers, and non‑toxic glue sticks. For hot-glue steps like attaching dowels, handle that portion yourself or swap in strong double‑sided tape. Turn the projects into a group activity—each child decorates their own ghost lantern or candy‑corn cone, making it fun and safe for all ages.
Q3: Can I reuse these paper crafts year after year?
Absolutely! Store flat items like banners, cutouts, and masks in labeled folders or large envelopes. For 3D pieces like lanterns and cones, nest similar shapes inside each other and protect delicate edges with tissue paper. Keep everything in a plastic bin away from moisture. With proper care, these crafts will speak for seasons to come.
Q4: What lighting works best with paper lanterns and window clings?
Battery‑operated LED tea lights or fairy lights are ideal—they stay cool and prevent fire hazards. Place window clings on exterior‑facing panes illuminated by porch lights or streetlamps. For an extra eerie vibe, use color‑changing LEDs behind colored vellum lanterns to shift ghostly hues throughout the night.
Q5: How do I display multiple paper crafts cohesively?
Choose a unifying color palette—like orange, black, and white—or a theme (ghosts, skulls, bats) and mix varied projects within that range. Group smaller items (bats, eyeball balloons) in clusters, and let larger pieces (banners, lanterns) anchor focal points. Layer hanging and tabletop elements at different heights for depth, and string fairy lights throughout to tie the display together with a soft, spooky glow.
Stay up to date with our latest ideas!