How to Make a DIY Keychain Step by Step at Home
Learn how to make a DIY keychain step by step at home with simple materials. Create personalized keychains in under 30 minutes!
Ever found yourself fumbling through your bag, desperately searching for keys that seem to have vanished into thin air? Well, you're not alone! Creating your own unique keychain isn't just about solving the mystery of disappearing keys; it's about adding a personal touch to something you use every single day. Whether you're looking to jazz up your own key collection or whip up some heartfelt gifts that won't break the bank, learning how to make a DIY keychain step by step at home opens up a world of creative possibilities. From quirky beaded designs to sophisticated leather pieces, the options are as limitless as your imagination. So, let's dive into this crafty adventure that'll transform those boring old keys into conversation starters!
Why Making Your Own Keychain Rocks
Before jumping into the nitty-gritty of keychain creation, let's talk about why DIY keychains have become such a hit. First off, they're incredibly budget-friendly. While store-bought keychains can cost anywhere from a few bucks to way more than they should, making your own typically costs pennies on the dollar. Plus, there's something deeply satisfying about creating something with your own two hands, isn't there?
Handmade keychains also make fantastic gifts. Nothing says "I care" quite like a personalized creation that shows you've invested time and thought into someone's present. And here's the kicker: you don't need to be Martha Stewart to pull this off!
Materials You'll Need for DIY Keychain Success
Basic Supplies That Won't Break the Bank
Getting started with keychain making doesn't require a trip to every craft store in town. In fact, you probably have half the stuff lying around already! Here's what you'll need to gather:
Key rings (the metal loops that actually hold your keys)
Jump rings (those tiny connectors that link everything together)
Pliers (needle-nose work best, but regular ones will do in a pinch)
Wire cutters or strong scissors
Your chosen decorative materials (we'll get to those in a sec!)
Decorative Elements to Make Your Keychain Pop
This is where the fun really begins! Depending on your style and skill level, you can choose from:
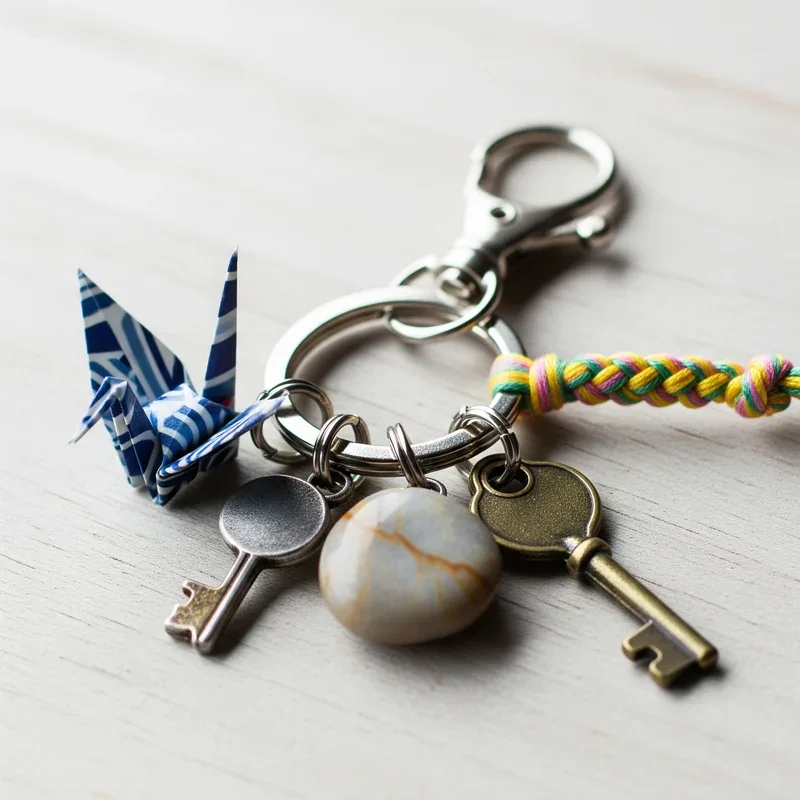
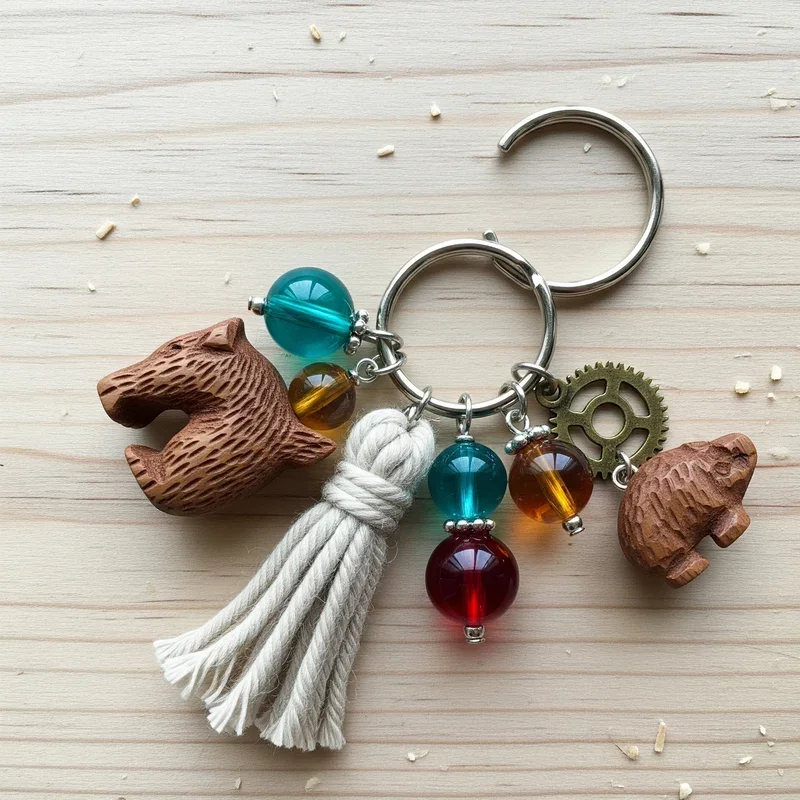
Beads and charms - Perfect for beginners and available in every color under the sun
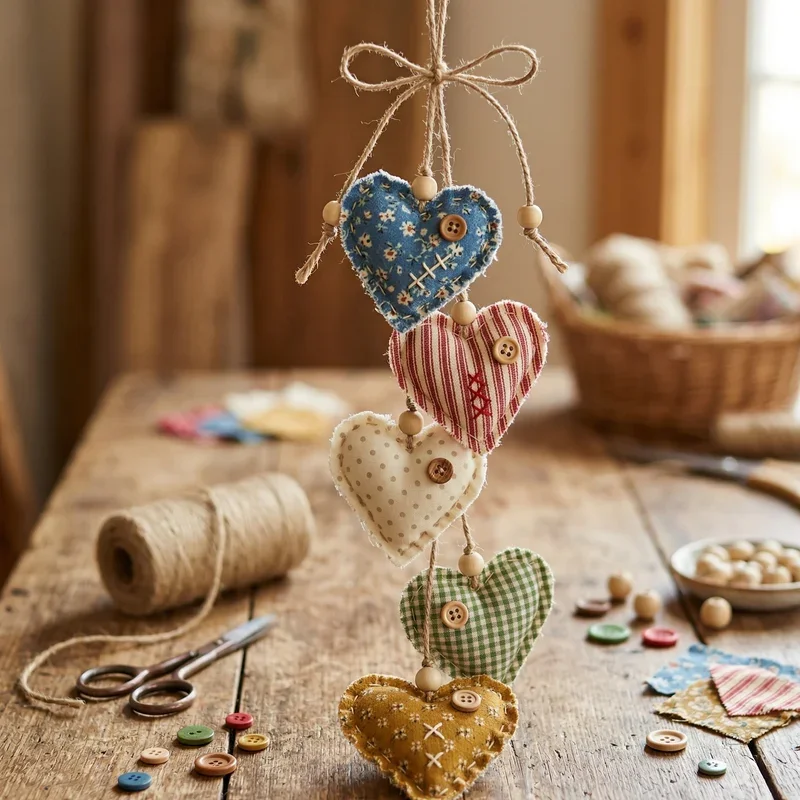
Leather or fabric scraps - Great for a more sophisticated look
Polymer clay - Ideal for creating custom shapes and designs
Resin - For those Instagram-worthy transparent keychains
Wood pieces - Rustic and eco-friendly
Tassels and pom-poms - Because who doesn't love a bit of fluff?
How to Make a DIY Keychain Step by Step at Home: The Basic Beaded Version
Step 1: Gather Your Beading Supplies
Alright, let's start with the crowd favorite: beaded keychains! You'll need some beads (obviously), thin wire or strong thread, and your basic keychain hardware. Pick beads that speak to you - maybe your favorite colors, or perhaps spell out a word that means something special.
Step 2: Design Your Pattern
Here's where you can let your creativity run wild! Lay out your beads on a flat surface and play around with different arrangements. Creating a pattern beforehand saves you from the "oh no, this looks terrible" moment halfway through. Trust me, I've been there!
Step 3: String Those Beads
Cut about 6 inches of wire or thread (better too long than too short, right?). Thread your beads according to your pattern, leaving about an inch of wire on each end. If you're using letter beads to spell something, double-check the spelling. Nothing worse than a keychain that says "LVOE" instead of "LOVE"!
Step 4: Secure the Ends
Once your beads are in place, it's time to lock them down. Create a small loop at one end of the wire using your pliers, then attach it to a jump ring. Repeat on the other end, making sure everything's nice and tight. Nobody wants beads flying everywhere when they pull out their keys!
Step 5: Attach to the Key Ring
Using your pliers, open the jump ring slightly (twist, don't pull apart!), slide it onto your key ring, and close it back up. Voilà! You've just created your first DIY keychain!
Level Up: How to Make a DIY Keychain Step by Step at Home with Leather
Cutting and Preparing Your Leather
Working with leather might sound intimidating, but it's actually pretty forgiving! Cut a strip about 4 inches long and half an inch wide. You can make it longer or shorter depending on your preference. Use a leather punch or even a nail to create a hole at one end.
Adding Personal Touches
Here's where leather keychains really shine. You can:
Stamp initials or designs using leather stamps
Paint patterns with acrylic paint
Add metal studs or rivets
Braid multiple strips together
Burn designs using a wood-burning tool (if you're feeling adventurous!)
Assembly Time
Thread a jump ring through the hole you punched, attach it to your key ring, and boom! You've got yourself a classy leather keychain that looks like it came from a fancy boutique.
Creative Variations to Try
Resin Keychains: The Trendy Choice
Resin keychains are having a major moment, and for good reason! They look absolutely stunning and aren't as difficult to make as you might think. You'll need:
Silicone molds (available in countless shapes)
Epoxy resin and hardener
Decorative elements (dried flowers, glitter, small charms)
Drill with a small bit (for the key ring hole)
Mix your resin according to package instructions, add your decorative elements to the mold, pour in the resin, and wait for it to cure. Once hardened, carefully remove from the mold, drill a small hole, and attach your hardware. The results are seriously impressive!
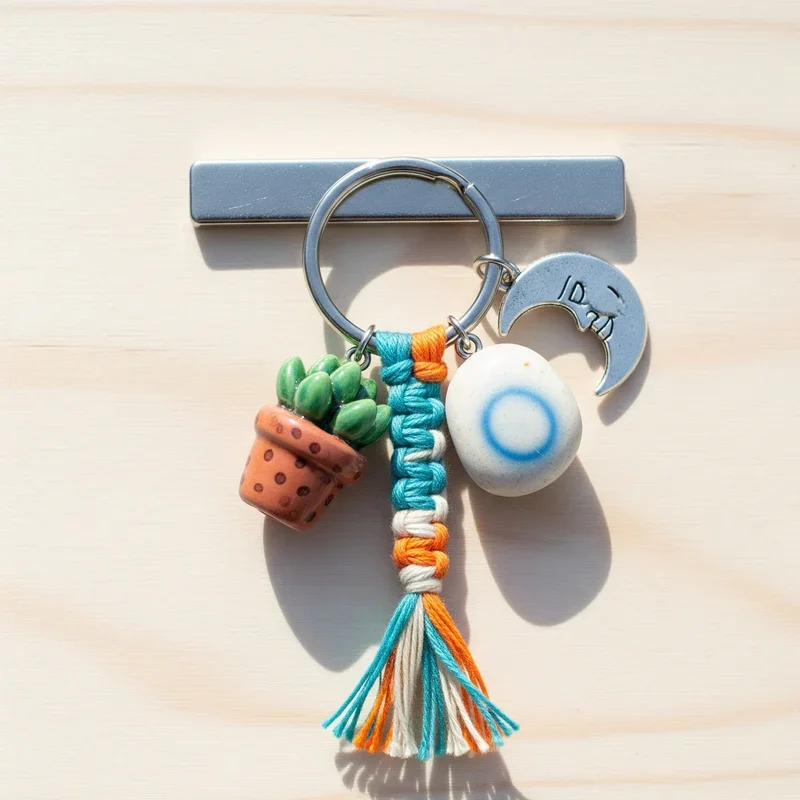
Tassel Keychains: Quick and Quirky
If you're short on time but want something eye-catching, tassel keychains are your best friend. Simply:
Wrap embroidery thread around a piece of cardboard about 20 times
Tie a piece of thread tightly around one end
Cut the loops at the other end
Trim to your desired length
Attach to a key ring with a jump ring
The whole process takes maybe 10 minutes, and you can make several at once for gifts!
Photo Keychains: Memories on the Go
Want to carry your favorite memories everywhere? Photo keychains are surprisingly easy to make. You can:
Use clear acrylic blanks and insert tiny photos
Create shrink plastic versions of your favorite pics
Laminate small photos and punch a hole for the ring
Troubleshooting Common Keychain Catastrophes
When Things Don't Go as Planned
Let's be real - not every DIY project goes smoothly on the first try. Here are solutions to common problems:
Jump rings keep opening? Make sure you're twisting them open sideways, not pulling them apart. Also, consider using split rings instead - they're more secure.
Beads falling off? Double-knot your thread and add a tiny drop of clear nail polish or super glue to the knot for extra security.
Leather cracking? Condition it first with leather conditioner or even a tiny bit of coconut oil.
Resin has bubbles? Use a toothpick to pop them before the resin cures, or pass a heat gun quickly over the surface.
Making Keychains with Kids
Safety First, Fun Always
Crafting with little ones? Keychains make fantastic projects for kids! Just keep these tips in mind:
Use larger beads to prevent choking hazards
Opt for plastic needles instead of wire for threading
Supervise any cutting or tool use
Let them choose their own colors and designs (even if they don't match!)
Consider using pipe cleaners instead of wire - they're easier to manipulate
Kids love making keychains for family members, teachers, or friends. It's a great way to teach them about giving handmade gifts!
Turning Your Hobby into Profit
From Crafting Table to Craft Fair
Once you've mastered the art of keychain making, why not consider selling your creations? Handmade keychains are popular at:
Local craft fairs and markets
Online platforms like Etsy
School fundraisers
Social media marketplaces
Price your keychains by calculating material costs and adding a fair markup for your time and creativity. Don't undersell yourself - handmade items have value!
Caring for Your DIY Keychains
Keeping Them Looking Fresh
Your beautiful creations deserve proper care:
Store beaded keychains separately to prevent tangling
Condition leather keychains occasionally
Keep resin keychains away from extreme heat
Replace worn jump rings before they break completely
Conclusion
Creating your own keychains transforms an everyday item into a personal expression of creativity and style. Whether you're crafting simple beaded designs or experimenting with trendy resin pieces, the process is both rewarding and practical. With just a few basic supplies and these straightforward techniques, you'll never have boring keys again. So grab those materials, unleash your creativity, and start making keychains that'll have everyone asking where you bought them!
Read next: 15 DIY Painting Ideas to Brighten Up Your Space
Frequently Asked Questions
Q1: How long does it take to make a basic keychain?
A: Most simple keychains take 15-30 minutes to complete from start to finish.
Q2: What's the cheapest type of DIY keychain to make?
A: Beaded keychains using plastic beads cost less than a dollar each typically.
Q3: Can I make keychains without any special tools?
A: Yes! Many designs only require scissors and your hands to create.
Q4: How do I make my keychains more durable?
A: Use quality materials and seal knots with clear nail polish or glue.
Q5: Where can I find keychain-making supplies?
A: Craft stores, online retailers, and even dollar stores carry basic keychain supplies.
Stay up to date with our latest ideas!