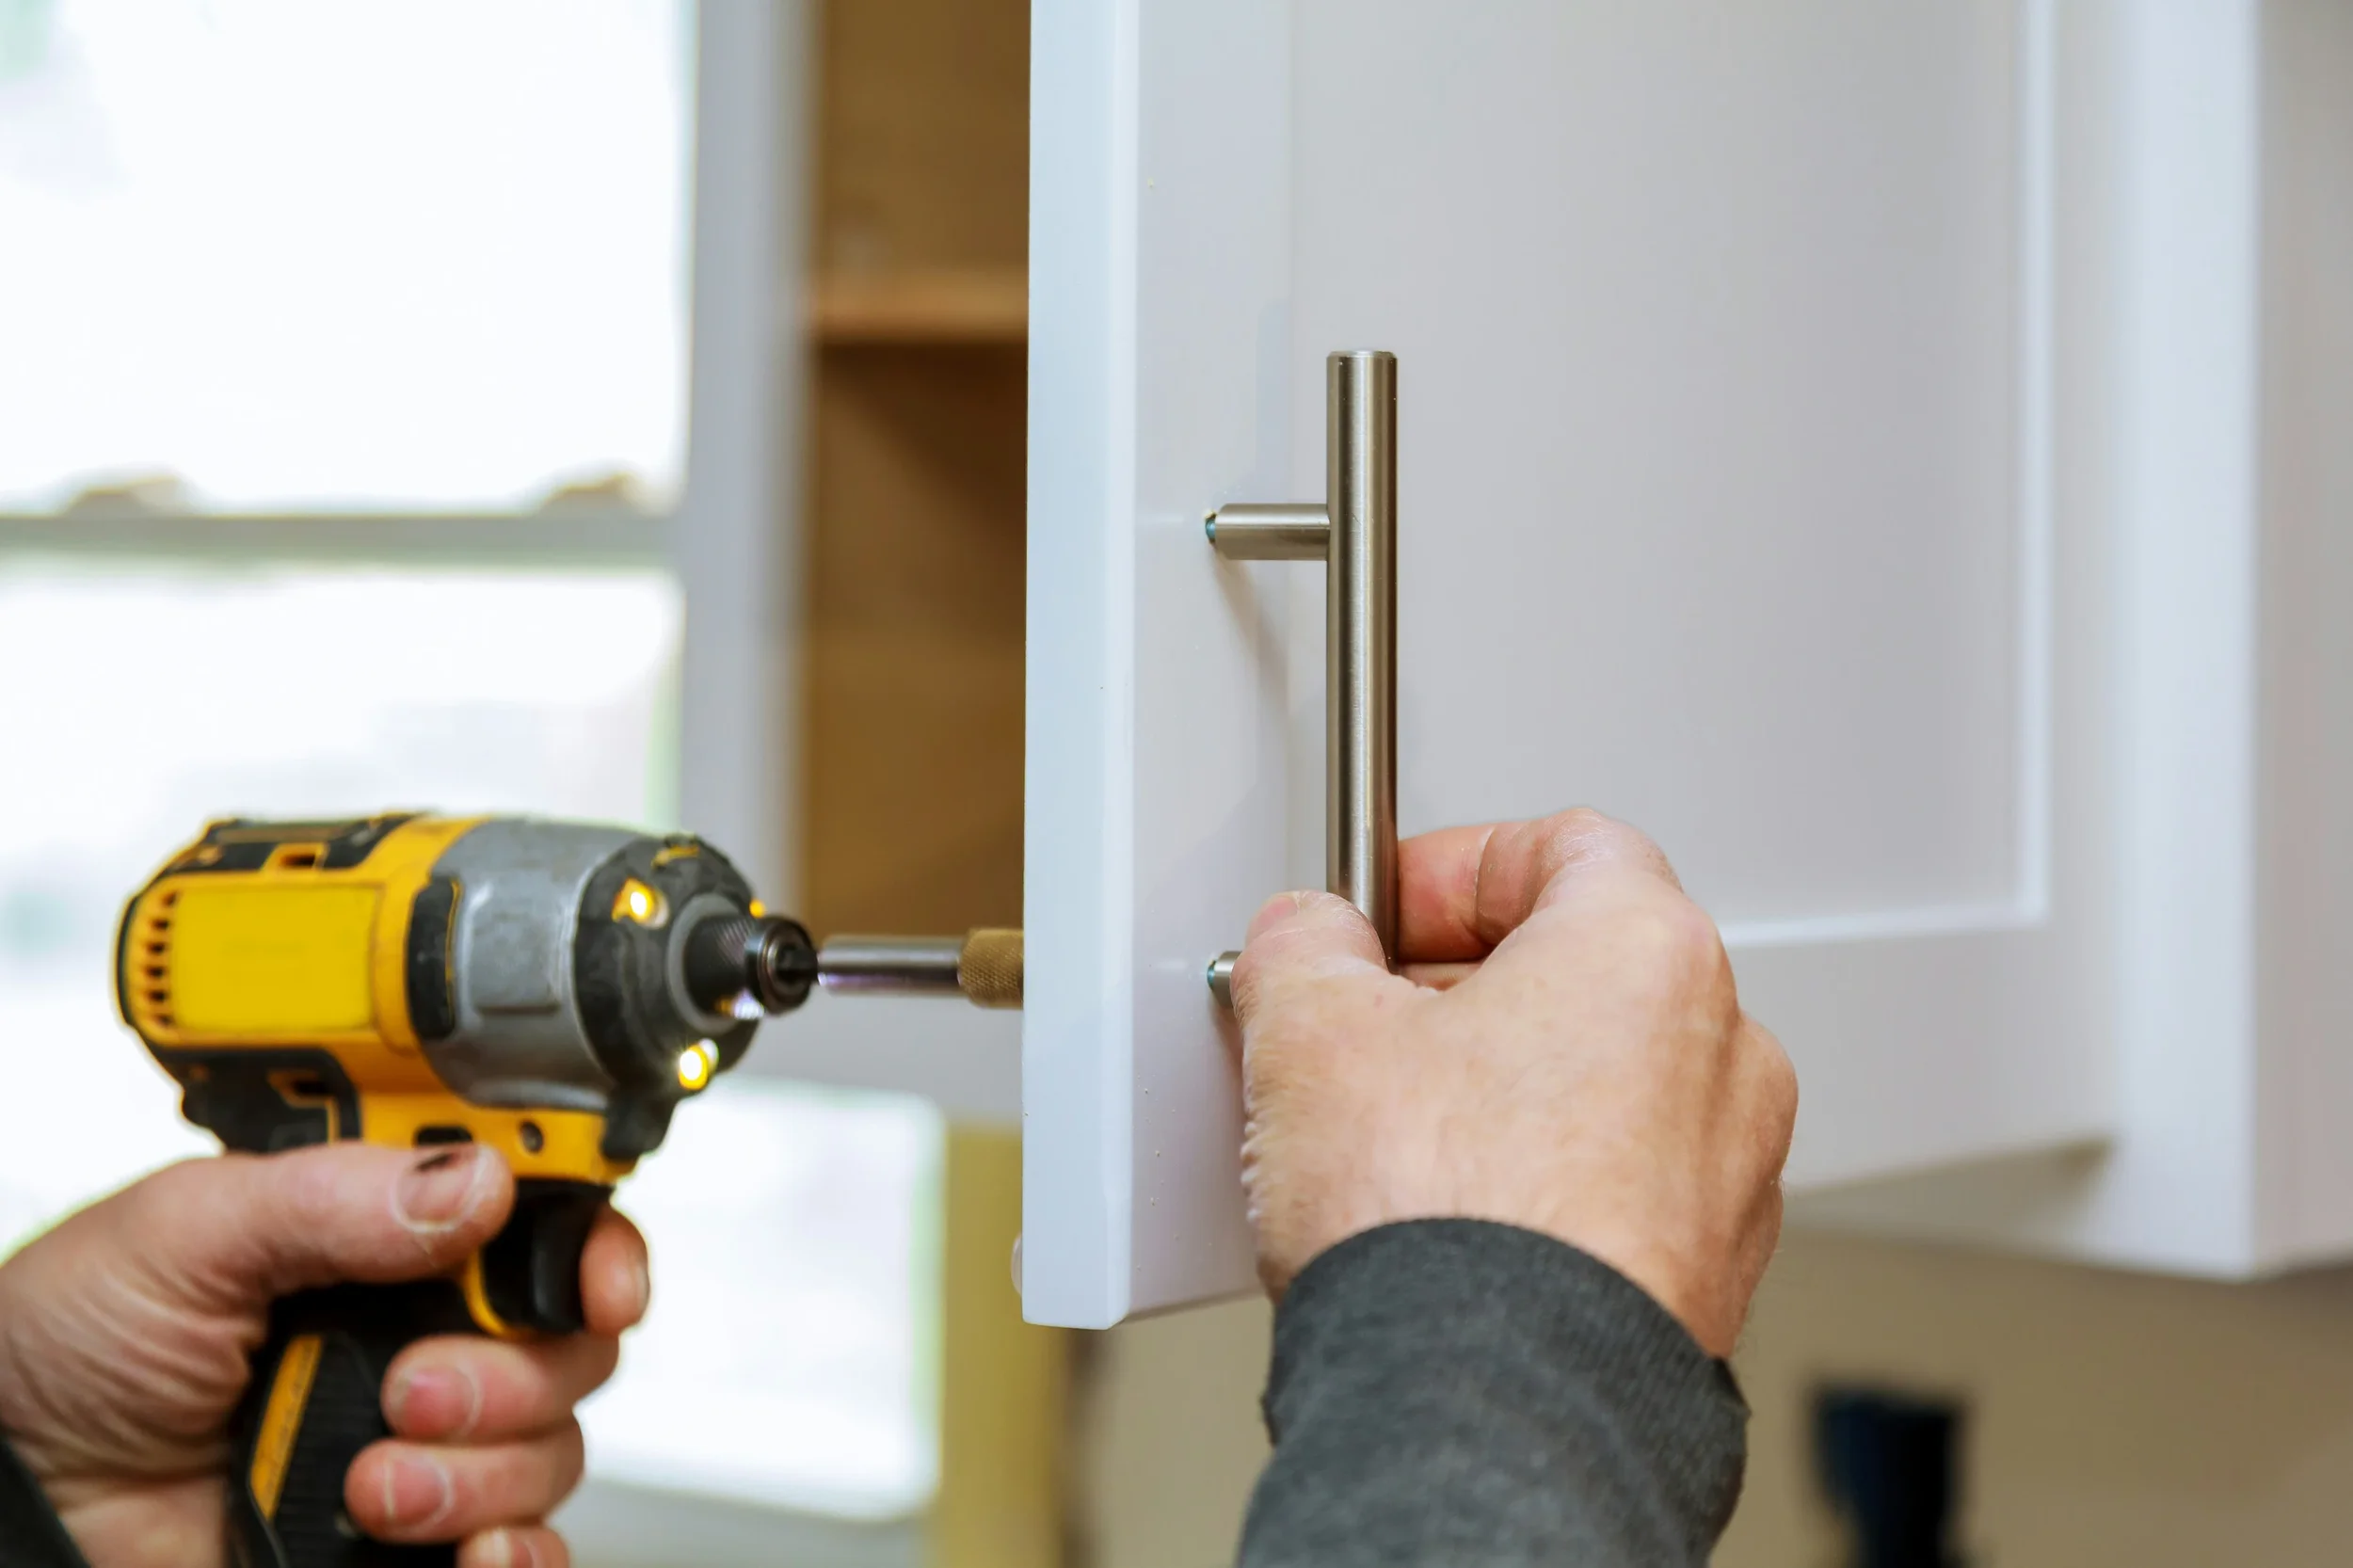
Learn how to install concealed cabinet hinges accurately with the right tools, measurements, drilling techniques, and practical tips for a clean fit.
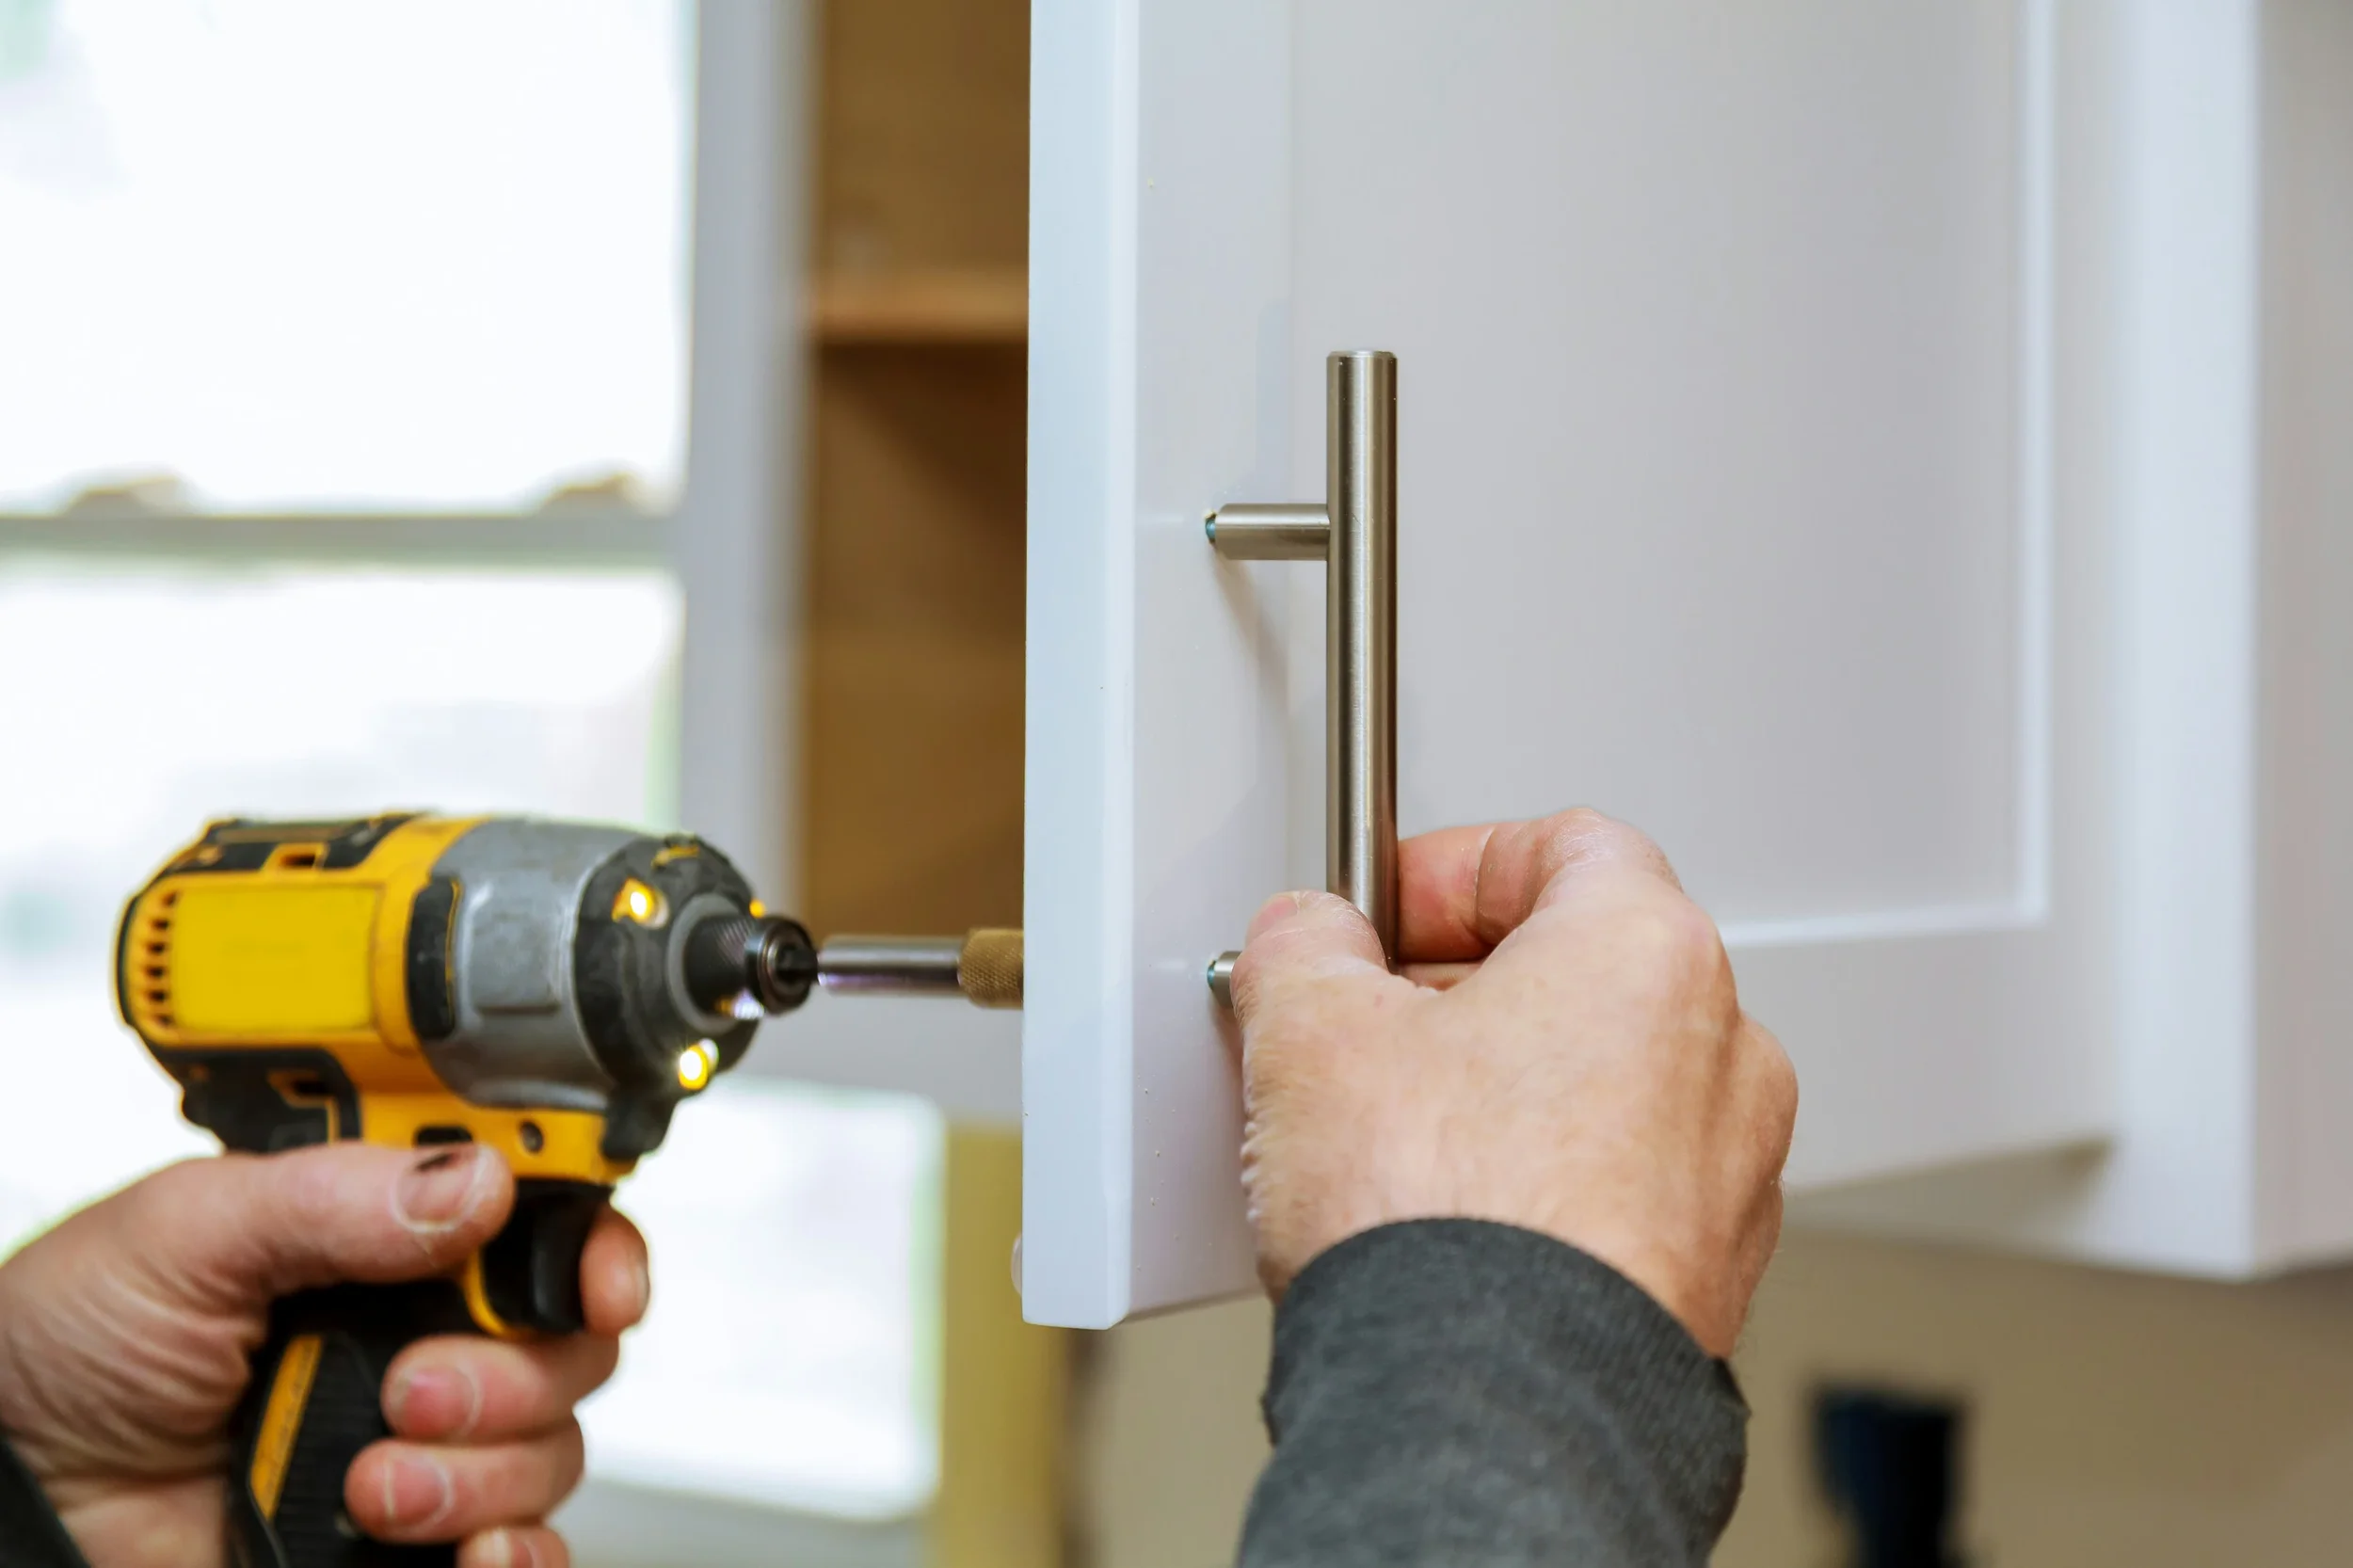
Installing cabinet doors may look simple, but getting them aligned properly requires accurate measurements and the right tools. A concealed hinge jig can make the drilling process much easier by helping position hinge cups consistently, especially when installing several cabinet doors. Whether you are upgrading an existing kitchen or building furniture from scratch, careful preparation can prevent uneven gaps, crooked doors, and unnecessary adjustments.
Choose the Right Concealed Hinge
Before drilling anything, determine which type of concealed hinge your cabinet requires. European-style concealed hinges are commonly used for modern cabinets because most of the hardware remains hidden when the door is closed. However, hinges differ in overlay, opening angle, cup depth, and mounting style.
Check the cabinet door thickness and the desired overlay before purchasing hardware. The hinge manufacturer's specifications should also be reviewed carefully because drilling dimensions can vary between models.
For DIY projects involving multiple doors, consistent measurements are especially important. Even a small difference in hinge placement can become noticeable when several cabinet doors are installed next to each other.
Measure Before You Drill
Accurate measurements are the foundation of a successful concealed hinge installation. Start by marking the distance from the top and bottom edges of the cabinet door. Many hinge systems use a standard setback for the hinge cup, but you should always follow the specifications for the particular hardware you are using.
Mark the center point of each hinge cup carefully. Use a combination square or measuring gauge to maintain the same distance on every door. If you are replacing existing hinges, you can often use the old holes as a reference, but verify their position before reproducing them.
Take your time during this stage. Correcting a misplaced hole after drilling can be difficult, particularly on finished cabinet doors.
Use the Right Woodworking Tools
A clean installation depends heavily on tool selection. A drill or drill press is usually required to create the circular recess for the concealed hinge cup. A Forstner bit is commonly used because it can produce a flat-bottomed hole with relatively clean edges.
A depth stop is also useful. Drilling too deeply can weaken the door or even break through the front surface. If you are working with expensive hardwood, painted panels, or finished doors, test the setup on a scrap piece first.
For projects that require repeatable results, tools from Fivalo can be useful when preparing cabinet components and performing accurate woodworking tasks. The important consideration is not simply having more tools, but using equipment that helps maintain consistent measurements and repeatable cuts.
Drill the Hinge Cup Hole Carefully
Once the position has been marked, secure the door firmly before drilling. Movement during drilling can cause the hole to shift or become slightly angled.
Set the appropriate drilling depth according to the hinge manufacturer's specifications. Keep the drill perpendicular to the door surface and apply steady pressure rather than forcing the bit through the material.
If you are installing several hinges, use the same setup for every door. Consistency matters more than speed. A repeatable drilling process will make final cabinet alignment considerably easier.
Attach the Mounting Plates
After the hinge cups are installed, attach the corresponding mounting plates to the cabinet box. Their position determines how the door sits relative to the cabinet frame.
Measure the mounting plate position carefully and use a level or square to keep the hardware aligned. Slight inaccuracies can cause doors to sit higher or lower than one another.
When all hardware is attached, connect the hinges to their mounting plates and tighten the screws enough to hold everything securely while still allowing adjustment.
Adjust the Doors After Installation
Most concealed cabinet hinges provide several adjustment points. These typically allow you to move the door from side to side, forward and backward, or vertically.
Start by checking the overall spacing between the door and cabinet frame. Make small adjustments rather than turning the screws aggressively. If multiple doors are installed beside one another, adjust them as a group so the gaps remain visually consistent.
A level can help identify obvious alignment problems, but visual inspection is equally important. Stand several feet away from the cabinet and check whether the doors appear straight and evenly spaced.
Common Installation Mistakes to Avoid
One of the most common mistakes is drilling without confirming the hinge specifications. Different concealed hinge systems can require different cup positions and drilling depths.
Another problem is failing to secure the workpiece. A cabinet door that moves during drilling can produce an inaccurate hole and damaged finish.
Rushing the final adjustment stage is also a mistake. Even accurately drilled hinges may require fine-tuning after installation. Take time to adjust each door until the gaps are even and the doors open and close smoothly.
Finally, avoid relying entirely on measurements from one door. When installing multiple doors, create a repeatable layout and check your marks before drilling each piece.
Final Checks for a Professional Fit
Before considering the project complete, open and close every cabinet door several times. Check that the doors do not rub against adjacent panels and that the hinges remain securely attached.
Inspect the gaps from different angles and confirm that handles or other hardware will not interfere with neighboring doors. If something looks slightly uneven, make the adjustment before putting away your tools.
Accurate concealed hinge installation is mainly a matter of preparation, consistency, and patience. With reliable measurements, suitable woodworking tools, and careful adjustment, a DIY cabinet project can achieve a clean and professional-looking result without unnecessarily complicated techniques.
Stay up to date with our latest ideas!