How to Make a DIY Envelope Step by Step at Home
Learn how to make a DIY envelope step by step at home with simple materials. Create custom envelopes for cards, letters, and special occasions easily!
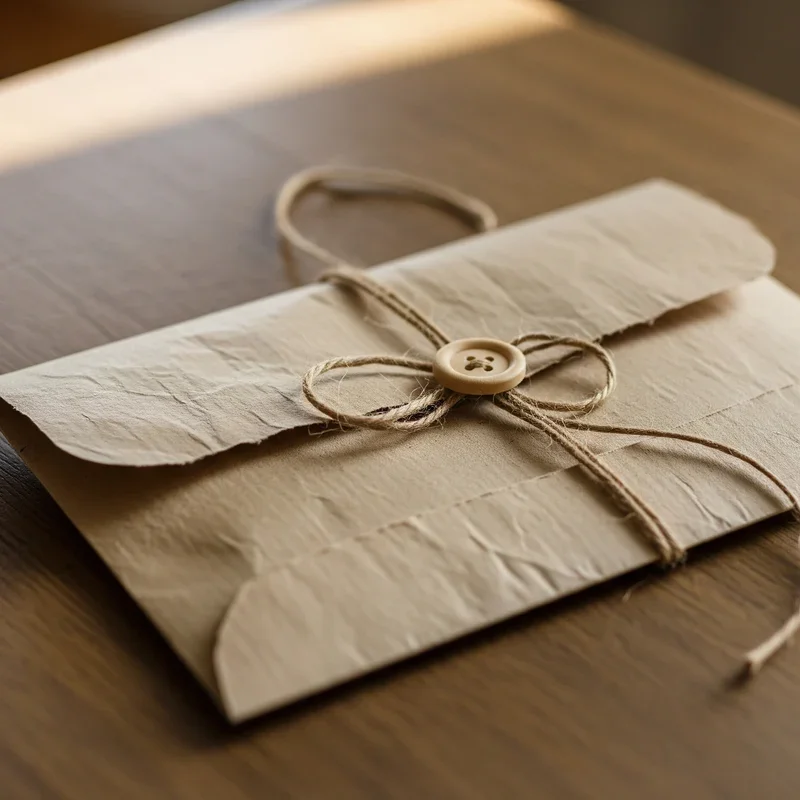
Well, isn't it funny how we're always scrambling for an envelope at the worst possible moment? You've got that birthday card ready to go, but whoops, no envelope in sight! Here's the thing: making your own envelopes at home is ridiculously easy, and once you get the hang of it, you'll wonder why you ever bought those boring store-bought ones.
Creating custom envelopes lets you add that personal touch that'll make your mail stand out in a sea of white rectangles. Plus, it's a fantastic way to recycle old magazines, wrapping paper, or even sheet music. Talk about killing two birds with one stone! Whether you're sending out wedding invitations, thank you notes, or just a sweet letter to grandma, knowing how to make a DIY envelope step by step at home is a skill that'll come in handy more often than you'd think.
Why Learn How to Make a DIY Envelope Step by Step at Home?
Save Money and the Planet
Let's face it, buying envelopes in bulk can add up, especially if you're the type who loves sending snail mail. Making your own envelopes practically costs nothing when you use materials you've already got lying around. Old calendars, newspaper comics, even brown paper bags can transform into gorgeous envelopes. Your wallet and Mother Earth will thank you!
Unleash Your Creative Side
Store-bought envelopes? Yawn! When you make your own, the sky's the limit. Want a galaxy-themed envelope for your space-obsessed nephew? Go for it! Feeling like channeling your inner Victorian with some lace and doilies? Why not! Every envelope becomes a mini art project, and trust me, recipients notice these details.
Perfect Sizing Every Time
Ever tried stuffing an odd-sized card into a standard envelope? It's like trying to fit a square peg in a round hole. Making your own envelopes means you can customize the size to fit whatever you're sending perfectly. No more folded corners or cards swimming in oversized envelopes!
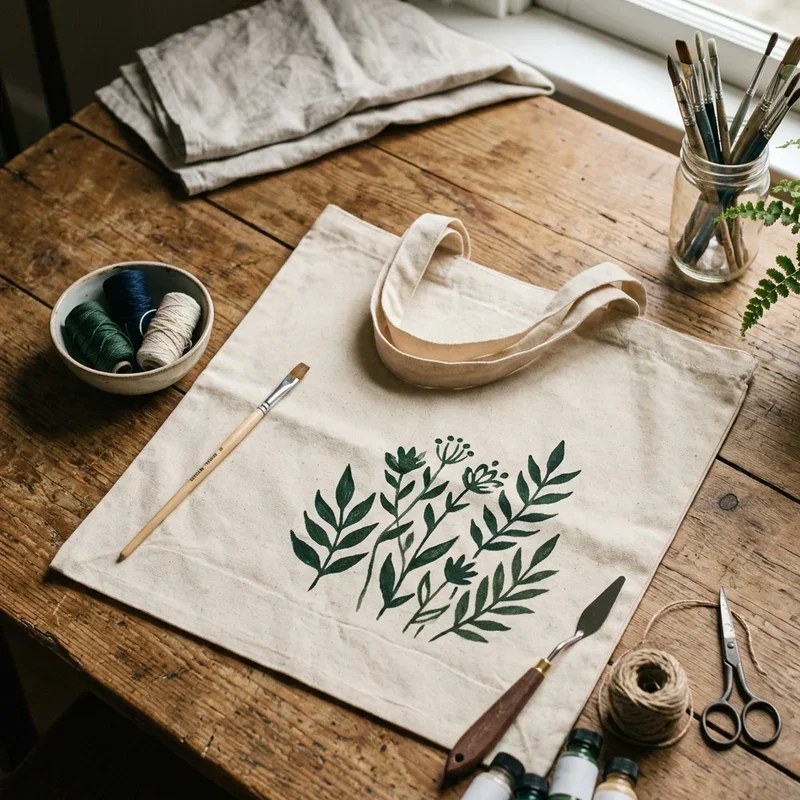
Materials You'll Need
Before diving into the nitty-gritty of envelope making, let's gather our supplies. The beauty of this project is that you probably have most of these items already:
• Paper (decorative, plain, or recycled) • Ruler or straight edge • Pencil • Scissors or paper cutter • Glue stick, double-sided tape, or washi tape • Bone folder or butter knife (for crisp folds) • Optional: envelope template or existing envelope to trace
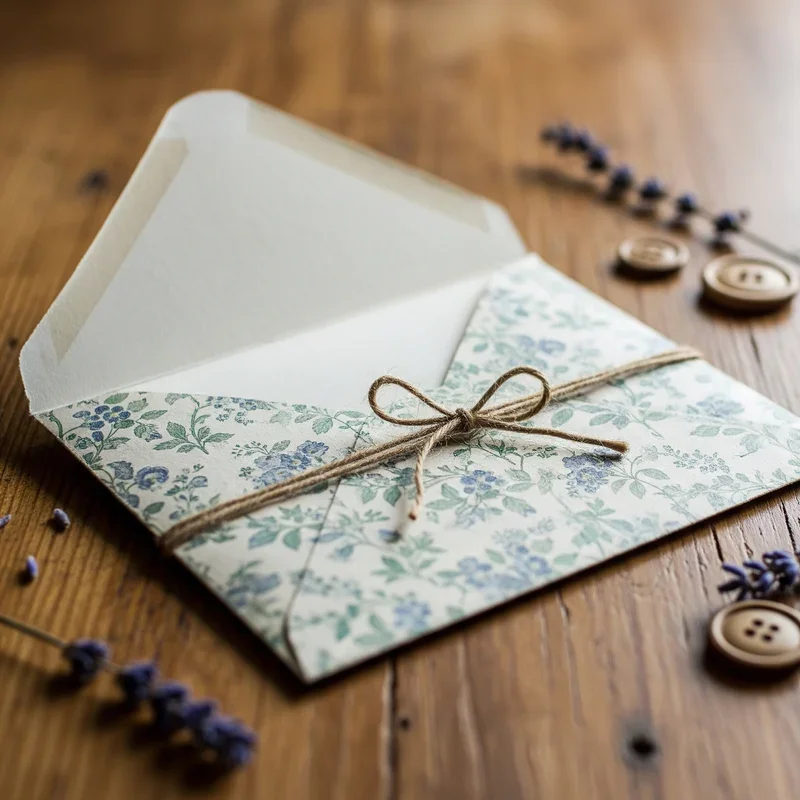
Choosing the Right Paper
Not all paper is created equal when it comes to envelope making. You want something sturdy enough to hold up during mailing but flexible enough to fold easily. Here are some winning options:
• Scrapbook paper (perfect weight and tons of designs) • Magazine pages (glossy and eye-catching) • Maps (for the travel enthusiast) • Sheet music (classy and unique) • Brown kraft paper (rustic charm) • Wrapping paper (backed with cardstock for strength)
Basic Envelope Template Methods
Method 1: Using an Existing Envelope
This method's so easy, it almost feels like cheating! Got an old envelope lying around? Perfect, that's your template right there.
Carefully unfold an existing envelope at all the seams
Lay it flat on your decorative paper
Trace around the edges with a pencil
Cut out your traced shape
Fold following the original crease lines
Secure with glue or tape
Voilà! You've just learned the quickest way for how to make a DIY envelope step by step at home.
Method 2: The Square Method
Starting with a square piece of paper opens up a whole world of envelope possibilities. This technique works great when you don't have a template handy.
Place your card diagonally in the center of a square paper
Fold the bottom corner up over the card
Fold both side corners inward, overlapping slightly
Fold the top corner down to create the flap
Remove the card and secure the sides
Advanced Envelope Styles
The Origami Envelope
Feeling fancy? The origami envelope adds an elegant touch that'll make recipients think you're some kind of paper wizard.
Start with a square piece of paper, decorative side down. Fold it diagonally both ways to create an X crease pattern. Next, bring three corners to meet at the center point. Here's where it gets interesting: take the fourth corner and fold it all the way over to the opposite edge, then tuck it under the other flaps. No glue needed! The interlocking folds hold everything together like magic.
The Heart-Shaped Envelope
Nothing says "I care" quite like a heart-shaped envelope. Perfect for Valentine's Day or any time you want to spread the love!
Begin with a square piece of paper and fold it in half. Draw half a heart shape along the folded edge, making sure it's large enough to hold your card. Cut out the heart and unfold it. Now, fold the sides of the heart inward to create the envelope pocket, and fold the top curves down for the flap. Secure with a heart-shaped sticker for extra cuteness!
The Pocket Envelope
Sometimes you need an envelope with a little extra oomph. The pocket envelope's perfect for holding multiple items or adding decorative elements.
Cut a rectangle that's three times the width of your card. Fold one third inward, creating a pocket. Fold the opposite third over it, then fold the top down for the flap. Before sealing, you can slip in dried flowers, confetti, or a photo for a delightful surprise!
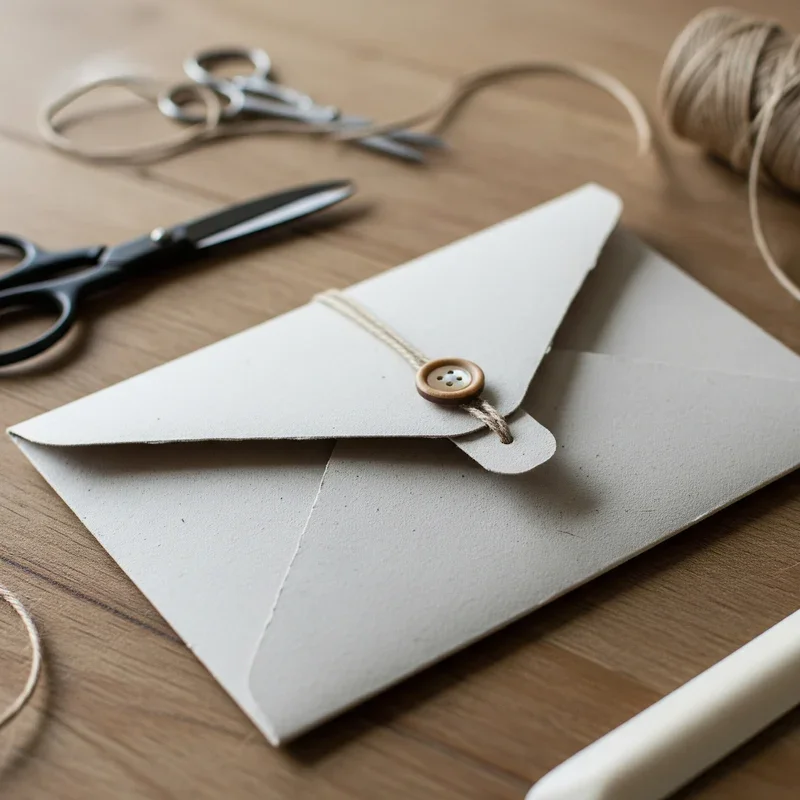
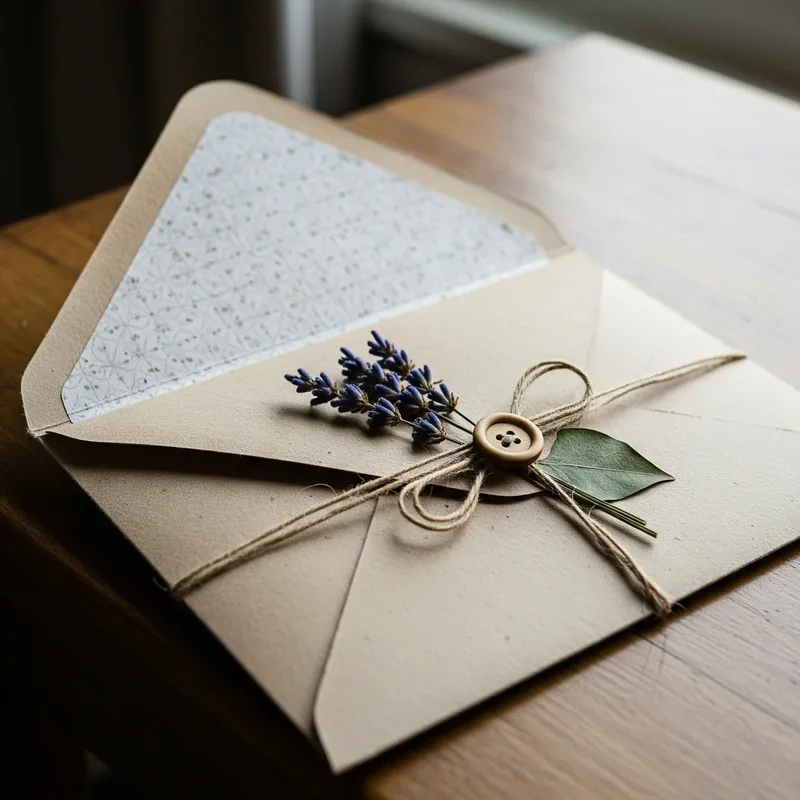
Decorating Your DIY Envelopes
Stamps and Stencils
Who says the fun stops at construction? Decorating your envelopes is where things really get exciting! Rubber stamps add instant personality, while stencils help you create perfect patterns even if you can't draw a straight line to save your life.
Washi Tape Wonders
Washi tape is basically the duct tape of the craft world. Use it to seal edges, create borders, or make geometric patterns. The best part? If you mess up, just peel it off and try again!
Hand Lettering and Calligraphy
Nothing beats beautiful hand lettering for that extra special touch. Don't worry if your handwriting looks like chicken scratch; with practice and the right tools, anyone can create stunning lettered addresses. Start with simple fonts and work your way up to fancy flourishes.
Practical Tips for Mailing
Meeting Postal Requirements
Before you go wild with creativity, remember that your envelope needs to survive the postal system. Keep these guidelines in mind:
• Minimum size: 3.5 x 5 inches • Maximum size: 6.125 x 11.5 inches for regular postage • Leave space for addresses and stamps • Avoid lumpy decorations that might jam sorting machines • Use strong adhesive to prevent opening during transit
Addressing Your Handmade Envelopes
Dark paper looks gorgeous but can make addresses hard to read. Solution? Create address labels using light-colored paper, or invest in white gel pens that show up on any surface. Always write addresses clearly, because even the prettiest envelope won't reach its destination if the postal worker can't read where it's going!
Troubleshooting Common Issues
Wonky Folds
Getting crooked folds? Join the club! The secret to professional-looking envelopes is taking your time with measurements and using a ruler for all fold lines. Score the paper lightly with a bone folder before folding for super crisp edges.
Glue Mishaps
Too much glue makes a mess, too little means your envelope falls apart. Finding that Goldilocks amount takes practice. Glue sticks work great for lightweight paper, while double-sided tape is your best friend for heavier materials.
Size Miscalculations
Made an envelope that's too small? Been there! Always measure your card first and add at least a quarter-inch buffer on all sides. When in doubt, make it slightly bigger; a roomy envelope looks intentional, while a too-tight fit looks like a mistake.
Eco-Friendly Envelope Ideas
Upcycling Materials
Old maps from that road trip? Yesterday's newspaper? Last year's calendar? They're all envelope gold! Upcycling materials for envelopes gives them a second life and keeps them out of the recycling bin a little longer.
Plantable Paper Options
Here's a cool twist: make envelopes from seed paper! Recipients can plant the envelope after opening it and grow wildflowers or herbs. Talk about a gift that keeps on giving!
Storage and Organization
Once you start making envelopes, you might find yourself getting a bit addicted. Suddenly you're making them in every color and pattern imaginable! Keep your creations organized by size in a accordion file or repurposed shoebox. Label sections for different occasions: birthdays, holidays, thank you notes, and just because.
Conclusion
Learning how to make a DIY envelope step by step at home opens up endless creative possibilities while saving money and reducing waste. From simple folded designs to elaborate origami creations, handmade envelopes add that personal touch that makes any correspondence special. So grab some paper and scissors, and start creating envelopes that are as unique as the messages they'll carry!
Read next: 15 DIY Ceiling Ideas to Transform Any Room Easily
Frequently Asked Questions
Q1: What's the best paper weight for making DIY envelopes?
A: Use 60-80 lb paper for durability without being too thick.
Q2: Can I make envelopes from fabric instead of paper?
A: Yes, but use fusible interfacing for structure and stability.
Q3: How do I make sure my envelope meets postal regulations?
A: Check USPS guidelines for size requirements and proper address placement.
Q4: What's the strongest adhesive for sealing handmade envelopes?
A: Double-sided tape or glue dots work better than liquid glue.
Q5: Can I print directly onto my handmade envelopes?
A: Yes, if they're flat enough to feed through your printer.
Stay up to date with our latest ideas!