How to Make DIY Stickers for Journals and Crafts
Learn how to make DIY stickers for journals and crafts with easy techniques, materials, and creative tips for stunning personalized designs today!
Well, here's the thing about stickers: they're absolutely everywhere, aren't they? From planners to laptops, water bottles to notebooks, these little adhesive wonders have taken the crafting world by storm. But hey, why shell out your hard-earned cash for generic store-bought stickers when you can whip up your own personalized beauties right at home? That's exactly what we're diving into today with this comprehensive guide on how to make DIY stickers for journals and crafts. Creating your own stickers isn't just about saving money (though that's definitely a perk!). It's about unleashing your creativity, making designs that perfectly match your aesthetic, and honestly, there's something incredibly satisfying about peeling off a sticker you made yourself and slapping it onto your journal. Trust me on this one; once you start making your own stickers, there's no going back!
Why Learn How to Make DIY Stickers for Journals and Crafts?
Before we jump into the nitty-gritty, let's talk about why making your own stickers is such a game-changer. First off, customization is king! You're not limited to what's available in stores anymore. Want a sticker of your cat wearing a tiny hat? You got it! Need quotes in your exact handwriting? No problem whatsoever!
Additionally, DIY stickers are perfect for:
Personalizing gifts and cards
Creating cohesive themes for your journal spreads
Starting a small business (yep, people love buying handmade stickers!)
Teaching kids about creativity and following instructions
Reducing waste by using materials you already have
Essential Materials You'll Need
Alright, let's get down to brass tacks. Gathering your supplies is half the battle, and thankfully, you probably have most of these lying around already. Here's what you'll need to get started:
Basic Supplies
Sticker paper (self-adhesive labels or printable vinyl)
Clear packing tape (the wider, the better!)
Parchment or wax paper
Scissors or craft knife
Printer (optional but super helpful)
Markers, pens, or colored pencils
White vinegar (I know, weird right? But it works!)
Optional but Awesome Additions
Laminating sheets
Cricut or other cutting machine
Watercolor paints
Digital drawing tablet
Glitter (because why not?)
Mod Podge or clear nail polish
Method 1: The Classic Packing Tape Technique
Oh boy, this method is a real crowd-pleaser! It's simple, cheap, and surprisingly effective. Here's how you do it:
Start by creating your design on regular paper. You can draw, print, or even use magazine cutouts. Just keep 'em small enough to fit under your tape width. Once your designs are ready, carefully place a strip of clear packing tape over them, making sure to smooth out any bubbles. Seriously, bubbles are the enemy here!
Next, flip your taped design over and apply another piece of tape to the back. This creates a waterproof seal that's pretty darn durable. Cut out your stickers, leaving a small border around each design. Now here's the magic trick: soak the whole thing in warm water mixed with a splash of white vinegar for about five minutes. The paper will start to dissolve, and you can gently rub it away, leaving just your design trapped between the tape layers!
Method 2: Using Printable Sticker Paper
If you're feeling a bit fancy (or just want professional-looking results), printable sticker paper is your best friend. This method is particularly great when you're wondering how to make DIY stickers for journals and crafts that look store-bought.
First things first, design your stickers digitally using software like Canva, Procreate, or even good ol' Microsoft Paint. No judgment here! Make sure your designs are sized appropriately and arranged efficiently on your digital canvas to avoid wasting paper.
Print your designs onto the sticker paper following the manufacturer's instructions. Most importantly, let the ink dry completely! I'm talking at least 10 minutes here, folks. Patience is a virtue, especially in sticker-making. Once dry, you can seal your stickers with a clear acrylic spray or laminating sheet for extra durability.
Method 3: The Hand-Drawn Approach
Sometimes, nothing beats the personal touch of hand-drawn stickers. This method is perfect for those who love doodling and want truly one-of-a-kind designs.
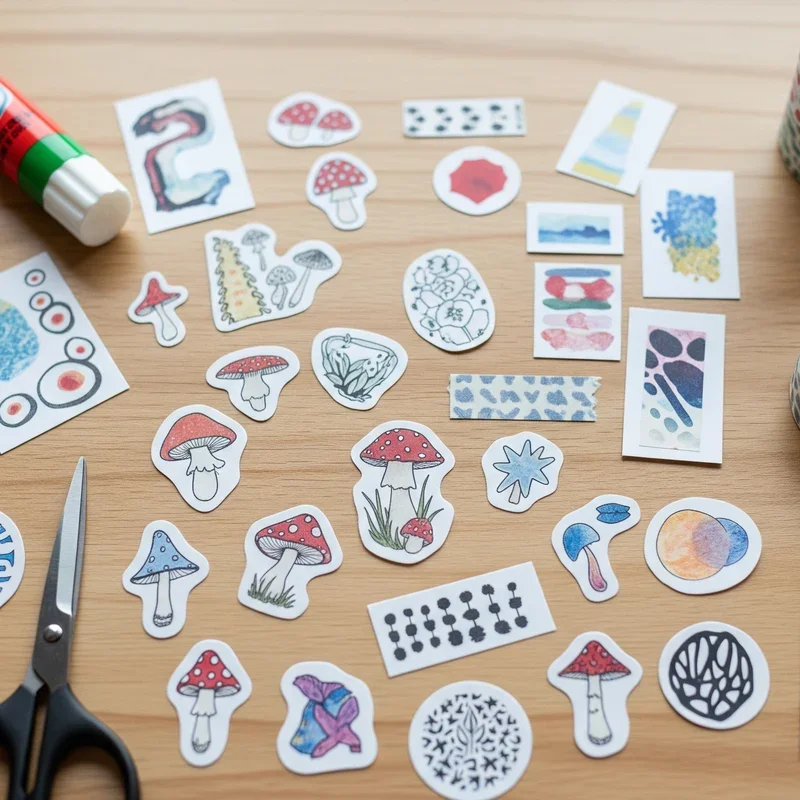
Grab your sticker paper or even regular labels from the office supply store. Draw directly onto them with permanent markers, gel pens, or fine-tip pens. Watercolors work too, but make sure your paper can handle the moisture without warping!
Here's a pro tip: create a light pencil sketch first, then go over it with your permanent materials. This way, you can erase any mistakes before they become, well, permanent! Once your masterpieces are complete, seal them with clear tape or a laminating sheet to protect your artwork.
Method 4: The Digital Design Revolution
Welcome to the 21st century, where digital design meets sticker creation! Using apps and software opens up a whole new world of possibilities.
Software Options
Free: GIMP, Inkscape, Canva
Paid: Adobe Illustrator, Procreate, Photoshop
Mobile: PicsArt, Unfold, Over
Create your designs digitally, then either print them on sticker paper or take them to a print shop for professional printing. The beauty of digital design? You can resize, recolor, and reproduce your stickers infinitely!
Creative Design Ideas That'll Blow Your Mind
Now that you've got the techniques down, let's talk inspiration! The possibilities are literally endless, but here are some ideas to get your creative juices flowing:
Popular Sticker Themes
Motivational quotes in beautiful typography
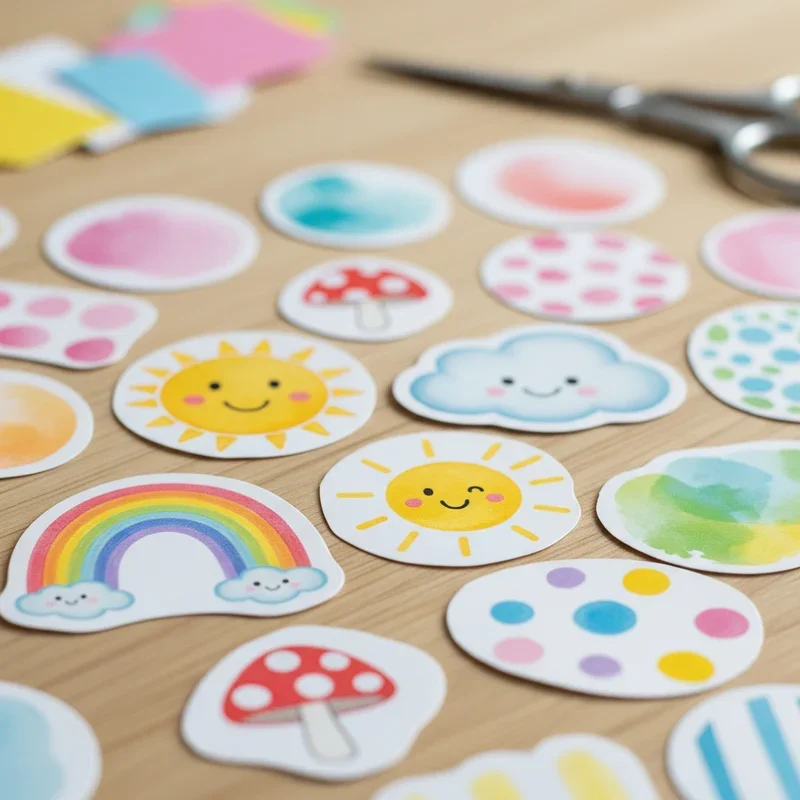
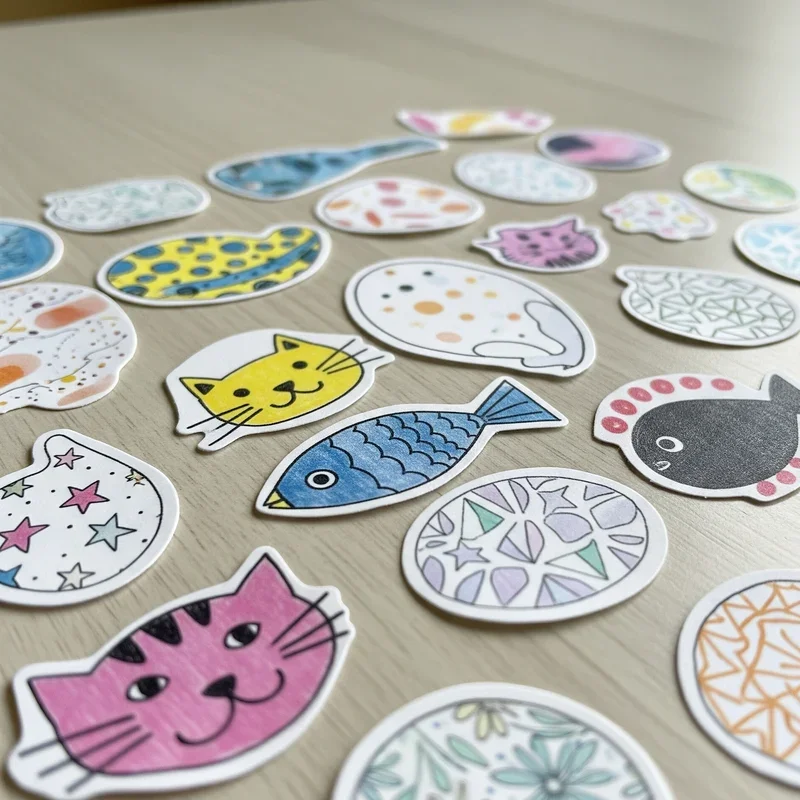
Cute characters like kawaii foods or animals
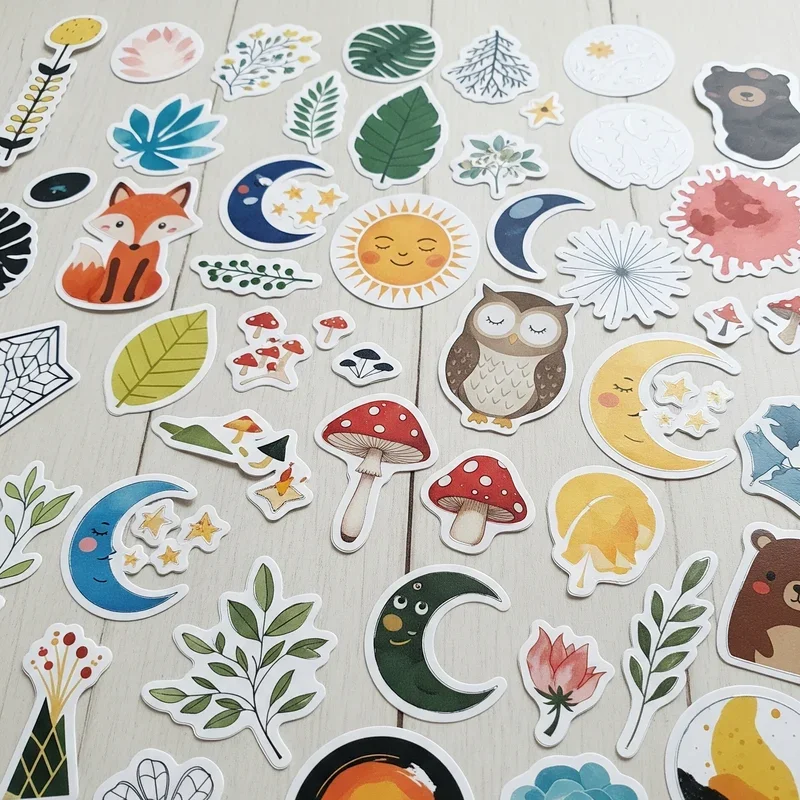
Botanical illustrations of leaves, flowers, and cacti
Geometric patterns for a modern look
Vintage ephemera like stamps and tickets
Seasonal designs for holidays and celebrations
Astrology symbols and celestial motifs
Minimalist line art for elegant simplicity
Color Schemes That Work
Choosing the right colors can make or break your sticker game. Consider these winning combinations:
Pastels for a soft, dreamy vibe
Monochrome for sophisticated elegance
Rainbow gradients for fun and energy
Earth tones for a natural, organic feel
Neon brights for attention-grabbing pop
Cutting Techniques for Professional Results
Believe it or not, how you cut your stickers matters just as much as how you make them! Sloppy cutting can ruin even the most beautiful design.
For straight edges, use a ruler and craft knife on a cutting mat. This gives you crisp, clean lines that scissors just can't match. For curved designs, small, sharp scissors are your best bet. Take your time and rotate the sticker rather than the scissors for smoother curves.
Want to level up? Consider investing in a cutting machine like a Cricut or Silhouette. These bad boys can cut intricate designs with precision that'll make your jaw drop. Plus, they can add a white border automatically, giving your stickers that professional "die-cut" look!
Storage and Organization Tips
Making stickers is addictive (don't say I didn't warn you!), so you'll need a system to keep them organized. Store your finished stickers in:
Clear plastic sleeves in a binder
Small envelopes labeled by theme
Vintage tin boxes for a cute aesthetic
Accordion folders with dividers
Photo storage boxes with index cards
Keep your stickers flat and away from heat and humidity. Nobody wants curled-up, faded stickers!
Troubleshooting Common Sticker-Making Problems
Even seasoned sticker makers run into hiccups sometimes. Here's how to fix the most common issues:
Problem: Ink smudging Solution: Let prints dry longer and use waterproof pens or seal with clear spray
Problem: Stickers won't stick Solution: Clean the surface before applying and press firmly for 30 seconds
Problem: Bubbles under tape Solution: Use a credit card to smooth while applying, working from center outward
Problem: Colors look dull Solution: Adjust printer settings to "best quality" and use photo paper mode
Using Your DIY Stickers Creatively
Now comes the fun part! Your handmade stickers can jazz up just about anything:
Decorate journal pages and planner spreads
Seal envelopes with a personal touch
Label storage containers stylishly
Create custom laptop decorations
Make unique gift tags
Design one-of-a-kind greeting cards
Personalize water bottles and phone cases
Taking Your Sticker Game to the Next Level
Once you've mastered the basics, why not explore advanced techniques? Try foil transfer for metallic effects, experiment with holographic paper, or create puffy stickers using dimensional glue. You could even start selling your creations online or at local craft fairs!
Consider joining online communities where sticker enthusiasts share tips, swap designs, and inspire each other. Instagram and Pinterest are goldmines for sticker inspiration!
Conclusion
There you have it, folks! You're now armed with everything you need to create amazing DIY stickers for your journals and crafts. Whether you choose the simple packing tape method or go all-in with digital designs and cutting machines, remember that practice makes perfect. Don't get discouraged if your first attempts aren't Pinterest-worthy; even professional sticker makers started somewhere! So grab your supplies, let your creativity run wild, and start sticking it to boring, generic decorations!
Read next: 15 Cute Couples Craft Ideas to Make Together
Frequently Asked Questions
Q1: What's the cheapest method for making stickers at home?
A: Packing tape method using regular paper and clear tape costs pennies!
Q2: Can I make waterproof stickers without special materials?
A: Yes! Clear packing tape or nail polish creates water-resistant stickers easily.
Q3: How long do homemade stickers typically last?
A: Properly sealed DIY stickers can last several years without fading significantly.
Q4: What's the best paper for hand-drawing stickers?
A: Sticker paper or full-sheet labels work best for hand-drawn designs overall.
Q5: Can I sell the stickers I make at home?
A: Absolutely! Many crafters successfully sell handmade stickers online and at markets.
Stay up to date with our latest ideas!