The Homeowner Guide to Dealing with Sudden Water Damage
Learn how to deal with sudden water damage using this homeowner guide, with practical steps to reduce damage, protect your home, and speed up recovery.
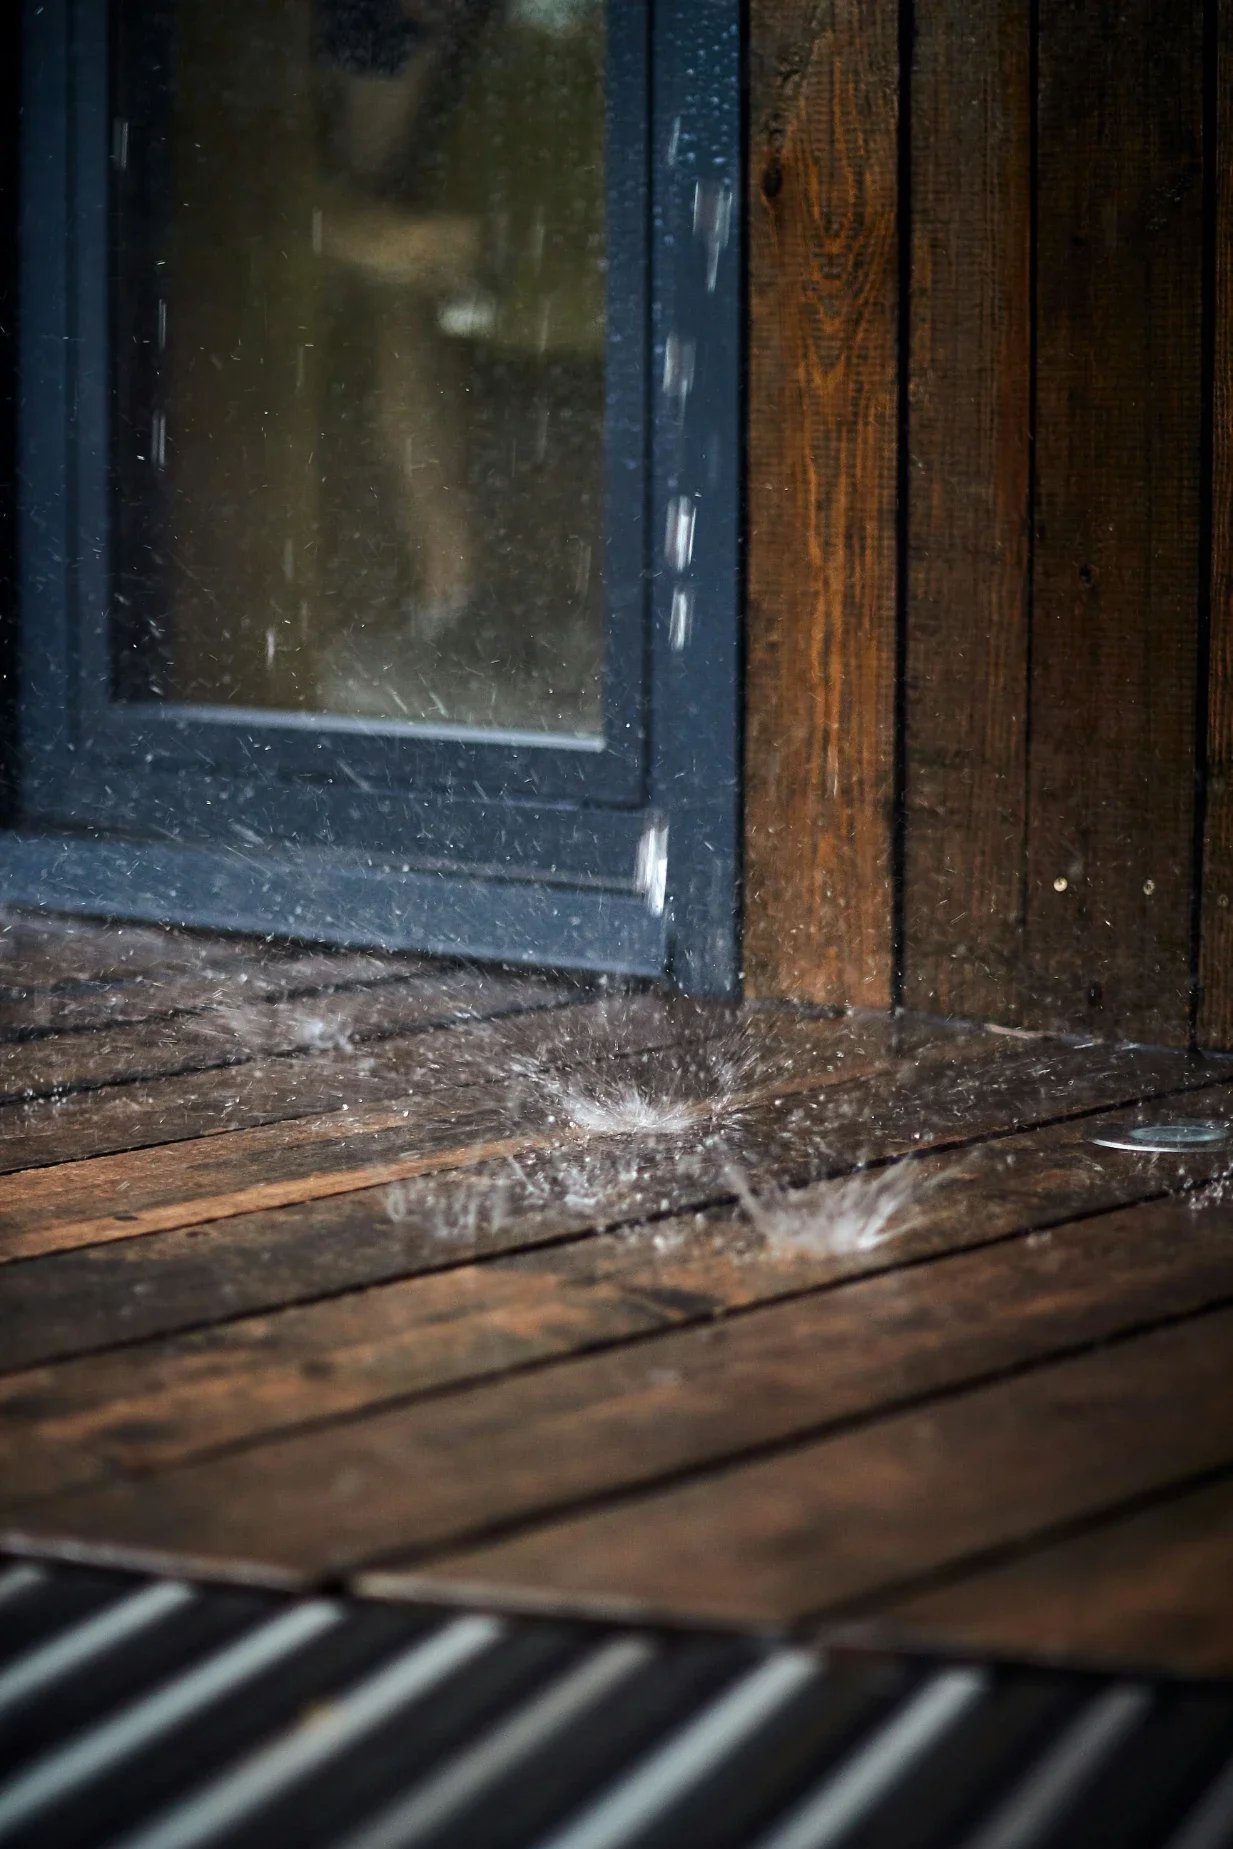
Water is a fast mover. It wicks into drywall, pools beneath subfloors, and potentially allows mold to start growing within 24 to 48 hours of initial contact. What you do within that first hour sets the stage for a contained repair or a months-long remediation project.
Step One: Stop The Water
Before taking any photos or moving a single piece of furniture, you need to locate your main water shut-off valve. In most cases, it is located close to your water meter: near the street, in a crawl space, or on an outside wall where the main water line enters your home. Turn it off all the way.
If the source of the leak is isolated - a burst pipe under the bathroom sink, a washing machine supply line - use the isolation valve at that fixture instead. Every sink and toilet has one. But if you don't know where the break is, kill the main.
This may seem trivial, but lots of homeowners waste 20 minutes hunting down the valve while water is still gushing onto their floors. Know where it is before you need it.
Classify The Water Before You Touch It
All water damage in the home is not created equal, and the category of water can determine how you respond.
If it's Category 1, water is from a clean source, broken supply lines or tub overflows for example - you can probably mop and start moving contents to dry without undue risk to your health. If it's Category 2, that's greywater - discharge from washing machines or dishwashers, or sump failures, for example. This water carries some contaminants and will require gloves and care.
Category 3 is black water - sewage backflow, toilet overflows containing fecal matter, or floodwaters that have become contaminated with biological material. This is genuinely dangerous. Get everyone out of the affected area. This isn't a mop-up-and-fan situation. Sewage pathogens could make you seriously ill, and the cleanup requires professionally safeguarded protocols.
Document Everything Before You Extract
This is the step most homeowners skip because they're in cleanup mode. Don't.
Before you pull up a single wet rug or drag out a piece of damaged furniture, take video of every affected room. Walk through slowly and narrate what you're seeing. Capture the standing water height against walls, visible damage to flooring, and every item that's been affected. Then photograph everything individually.
Your homeowners insurance policy - particularly the HO-3 form that most standard policies use - covers sudden and accidental water discharge. It doesn't cover gradual wear, pre-existing conditions, or external flooding unless you carry separate flood coverage. The insurance adjuster will need to see what the damage looked like before any extraction or demolition work started. Missing that documentation can cost you significantly on your claim.
Making The Call To Professionals
Once you've stopped the water and made your records, the next step is to get IICRC-certified restoration technicians to your location. This is where the do-it-yourself process reaches its natural endpoint.
With residential flooding in the Southeast, contacting a team focused on Water Damage restoration Birmingham, AL puts industrial-strength extraction and drying equipment in your home quickly enough to capitalize on that 24-to-48-hour window before mold takes hold in your subfloors and wall cavities.
Psychrometrics is the science of how temperature, humidity, and vapor pressure work together during structural drying. It's not something you can simulate with an oscillating fan and a space heater. A closed drying system using LGR dehumidifiers and commercial air movers is necessary to pull deep moisture out of framing and subfloor material without creating the warm, humid conditions that mold spores need to germinate.
The Hidden Moisture Problem Most Homeowners Don't See
People are often surprised to learn that seemingly "dry" walls can still be structurally compromised. Drywall acts like a sponge, drawing water via capillary action from its base. Water can also seep under baseboards, tiles, and flooring. In addition, it can penetrate interior wall cavities. But by the time you feel or see it, the damage can be extensive.
Professional restoration and remediation firms use penetrating and non-penetrating moisture meters to determine the extent of the damage. Thermal imaging cameras instantly show temperature differentials in building materials, and therefore moisture evaporation. Without this step, you may inadvertently trap water inside a wall or flooring system. This leads to a much larger, more expensive, and more dangerous mold remediation project down the road.
One of the most insidious water damage villains is the slab leak. This is a water pipe that has broken or begun leaking beneath the concrete floor of your home. Water quickly saturates and wicks up the concrete, then spreads beneath the vinyl, wood, or tile flooring. Because it remains hidden, homeowners rarely notice the damage until flooring materials begin to bubble, warp, or separate.
Where To Draw The Line On DIY
You can shut off the water. You can document the damage. You can move personal property to a dry area and begin light extraction of standing water with a wet-dry vacuum if the source is Category 1.
That's where your role ends and the professionals begin. Structural drying, moisture mapping, controlled demolition of wet drywall, and any work involving contaminated water all require certified mitigation expertise and equipment that isn't available at a hardware store.
Water damage claims affect approximately 1 in 50 insured homes each year. The difference between a manageable claim and a structural failure almost always comes down to the response time in those first few hours - and whether the right equipment arrived before the mold clock ran out.
Stay up to date with our latest ideas!